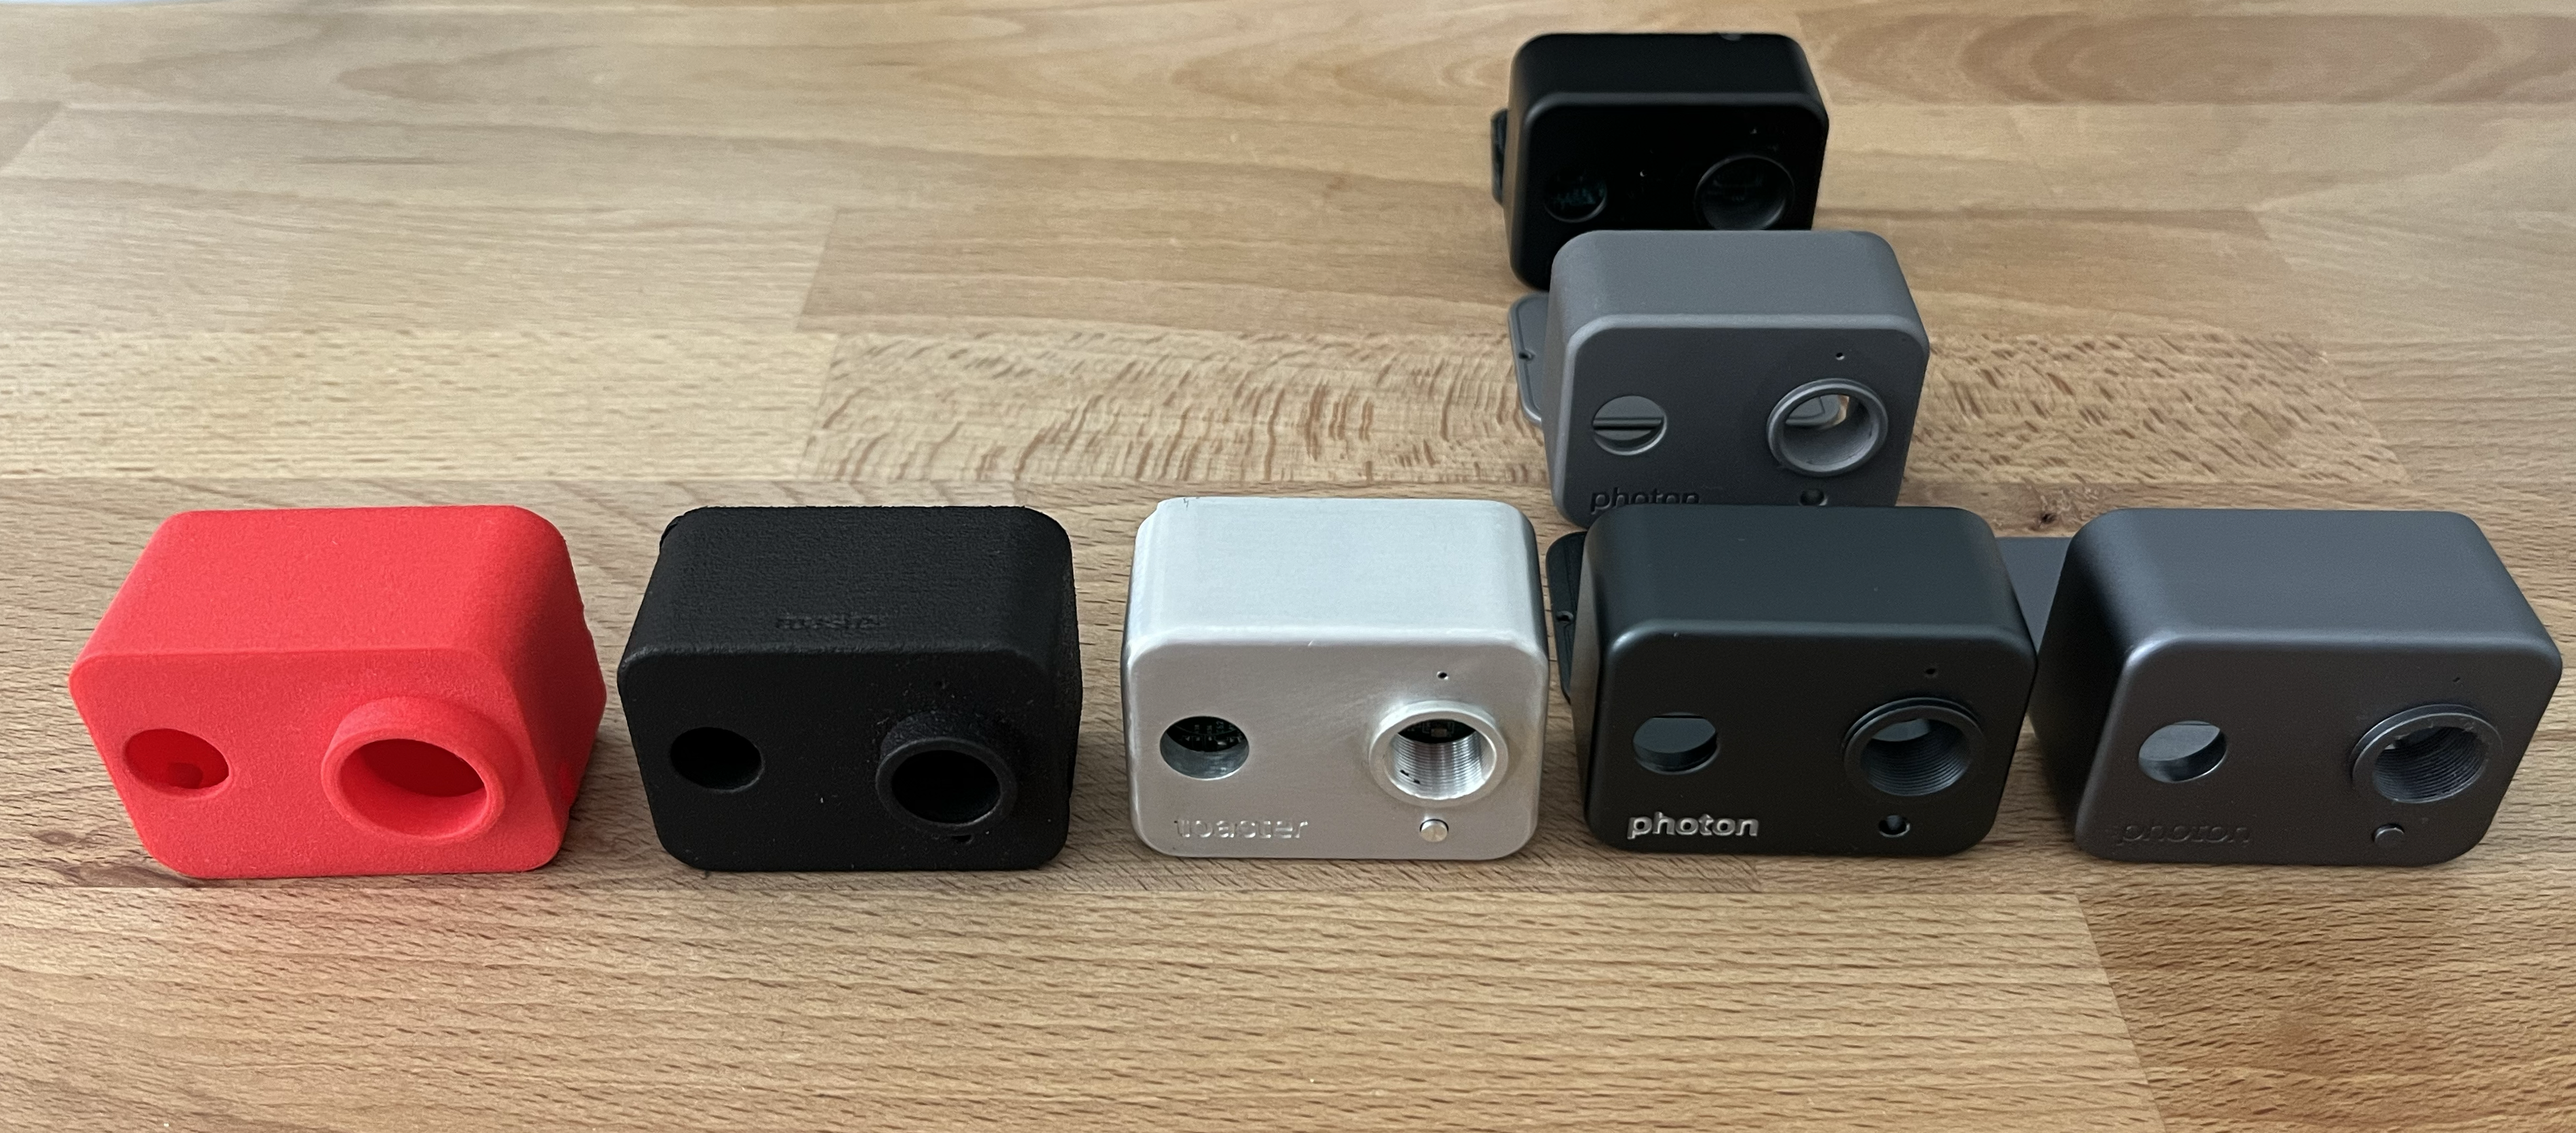
Revision 1
The first Photon enclosure was 3D printed in a striking red color. (Shapeways' default red IIRC.) This enclosure design predated both the button and LED that Photon eventually adopted, so there are only three openings — motion sensor, lens, and USB port.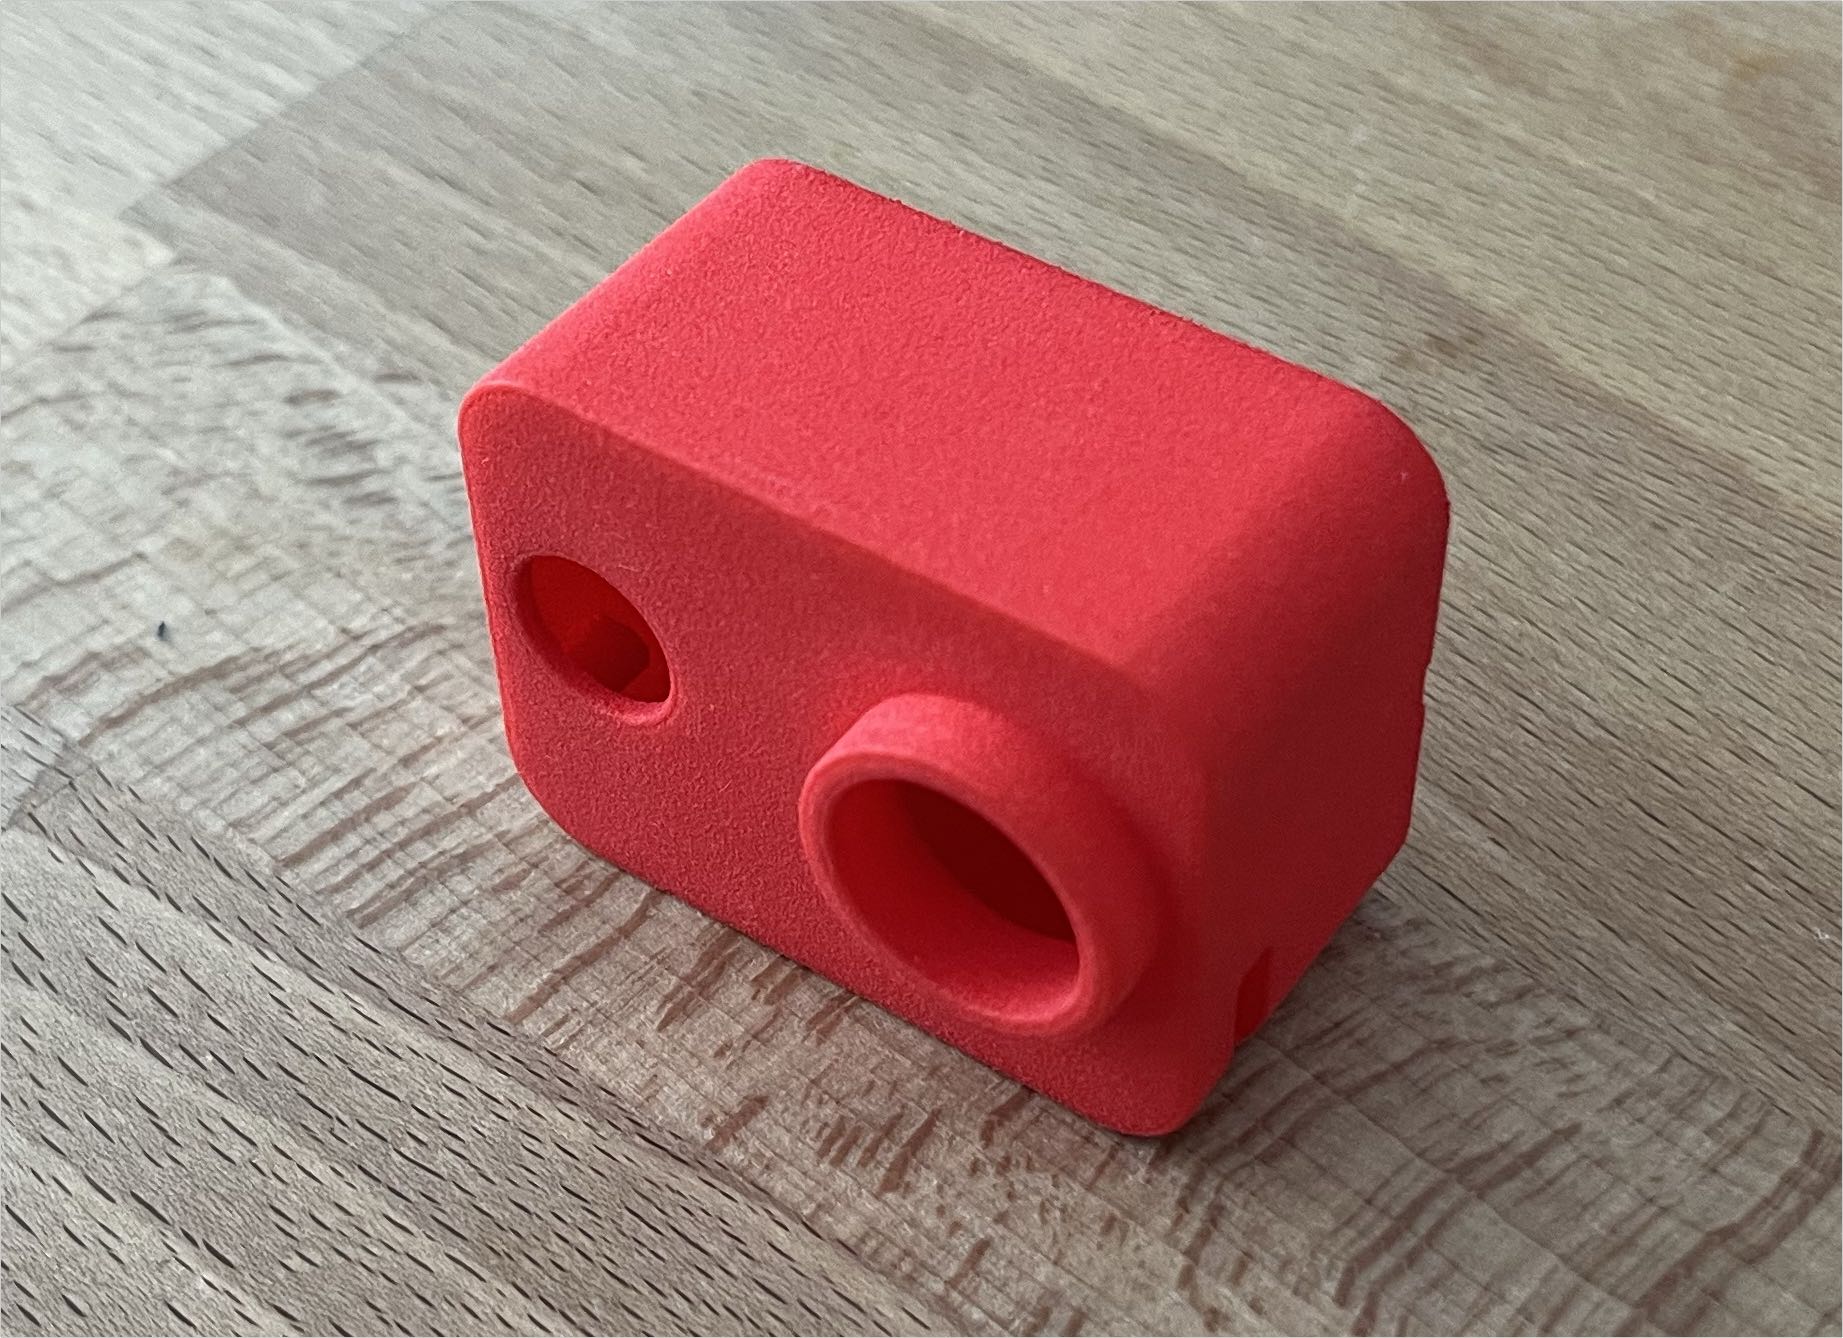
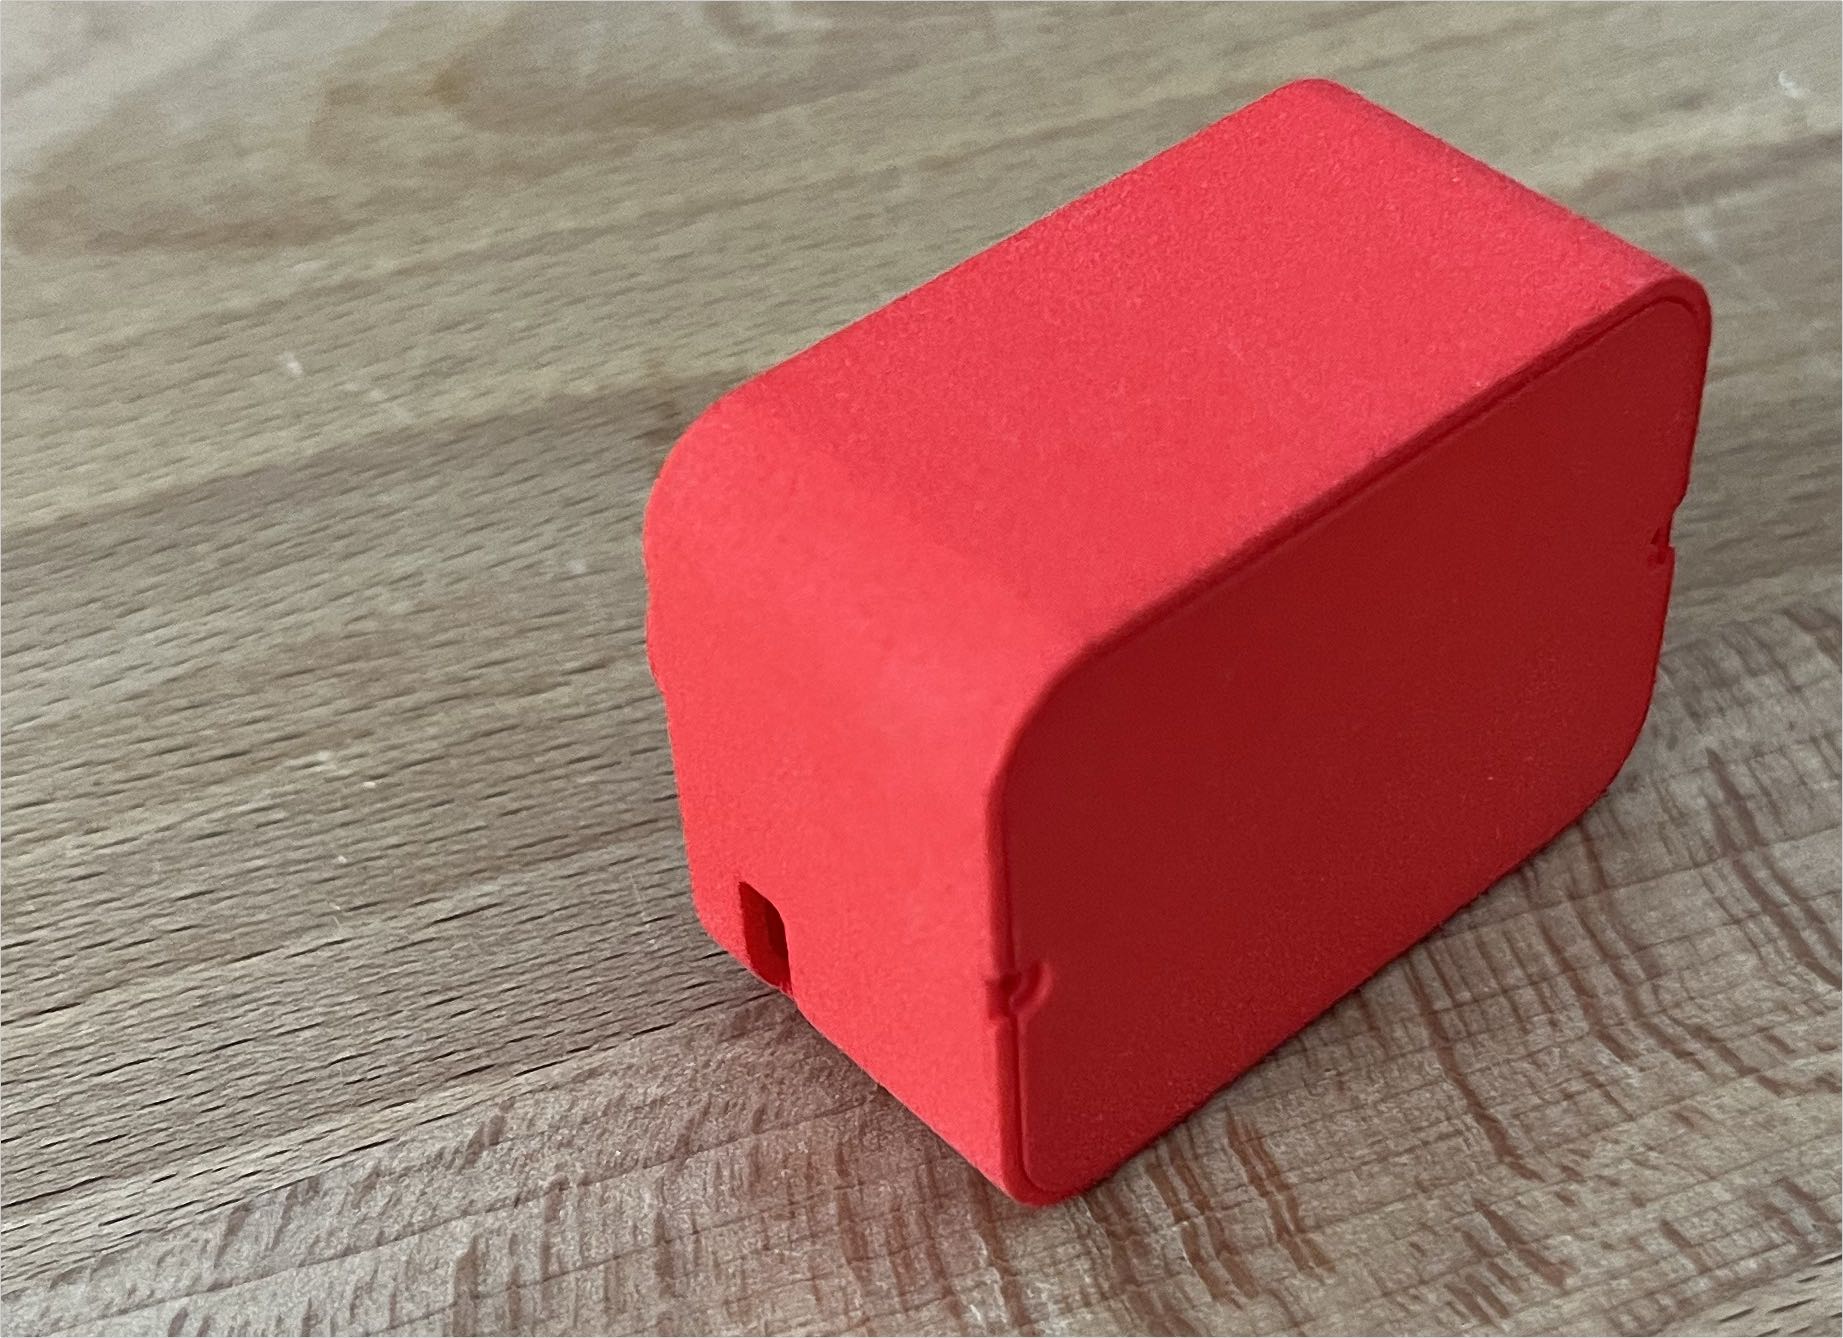
This was the first time that photos could be captured in the (quasi) final form factor. In doing so it became clear that a plastic enclosure wasn't going to cut it without additional light shielding, as sunlight easily penetrates the plastic and disrupts Photon's operation.
Revision 2
The second revision added openings for the LED and button.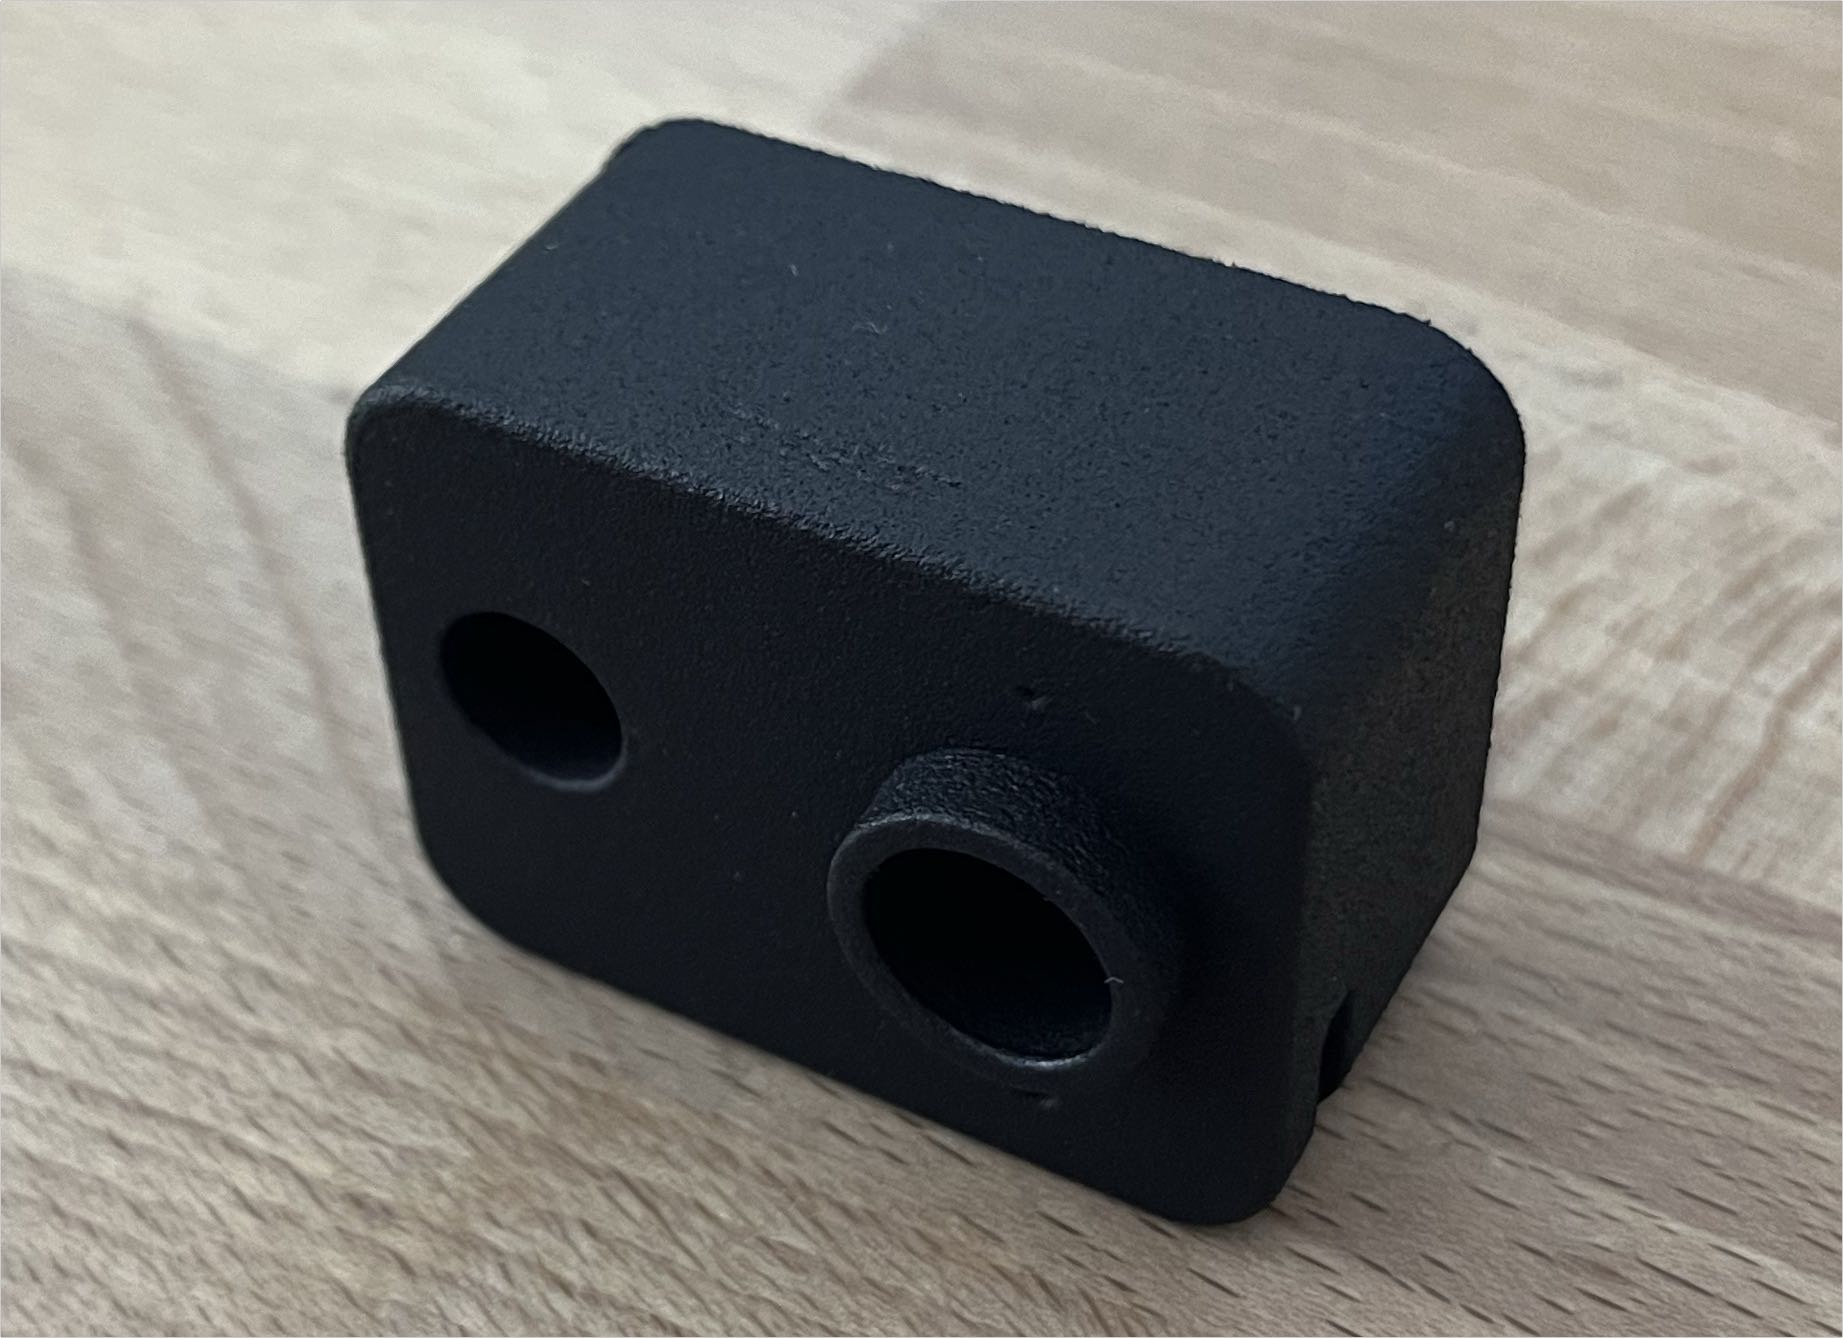
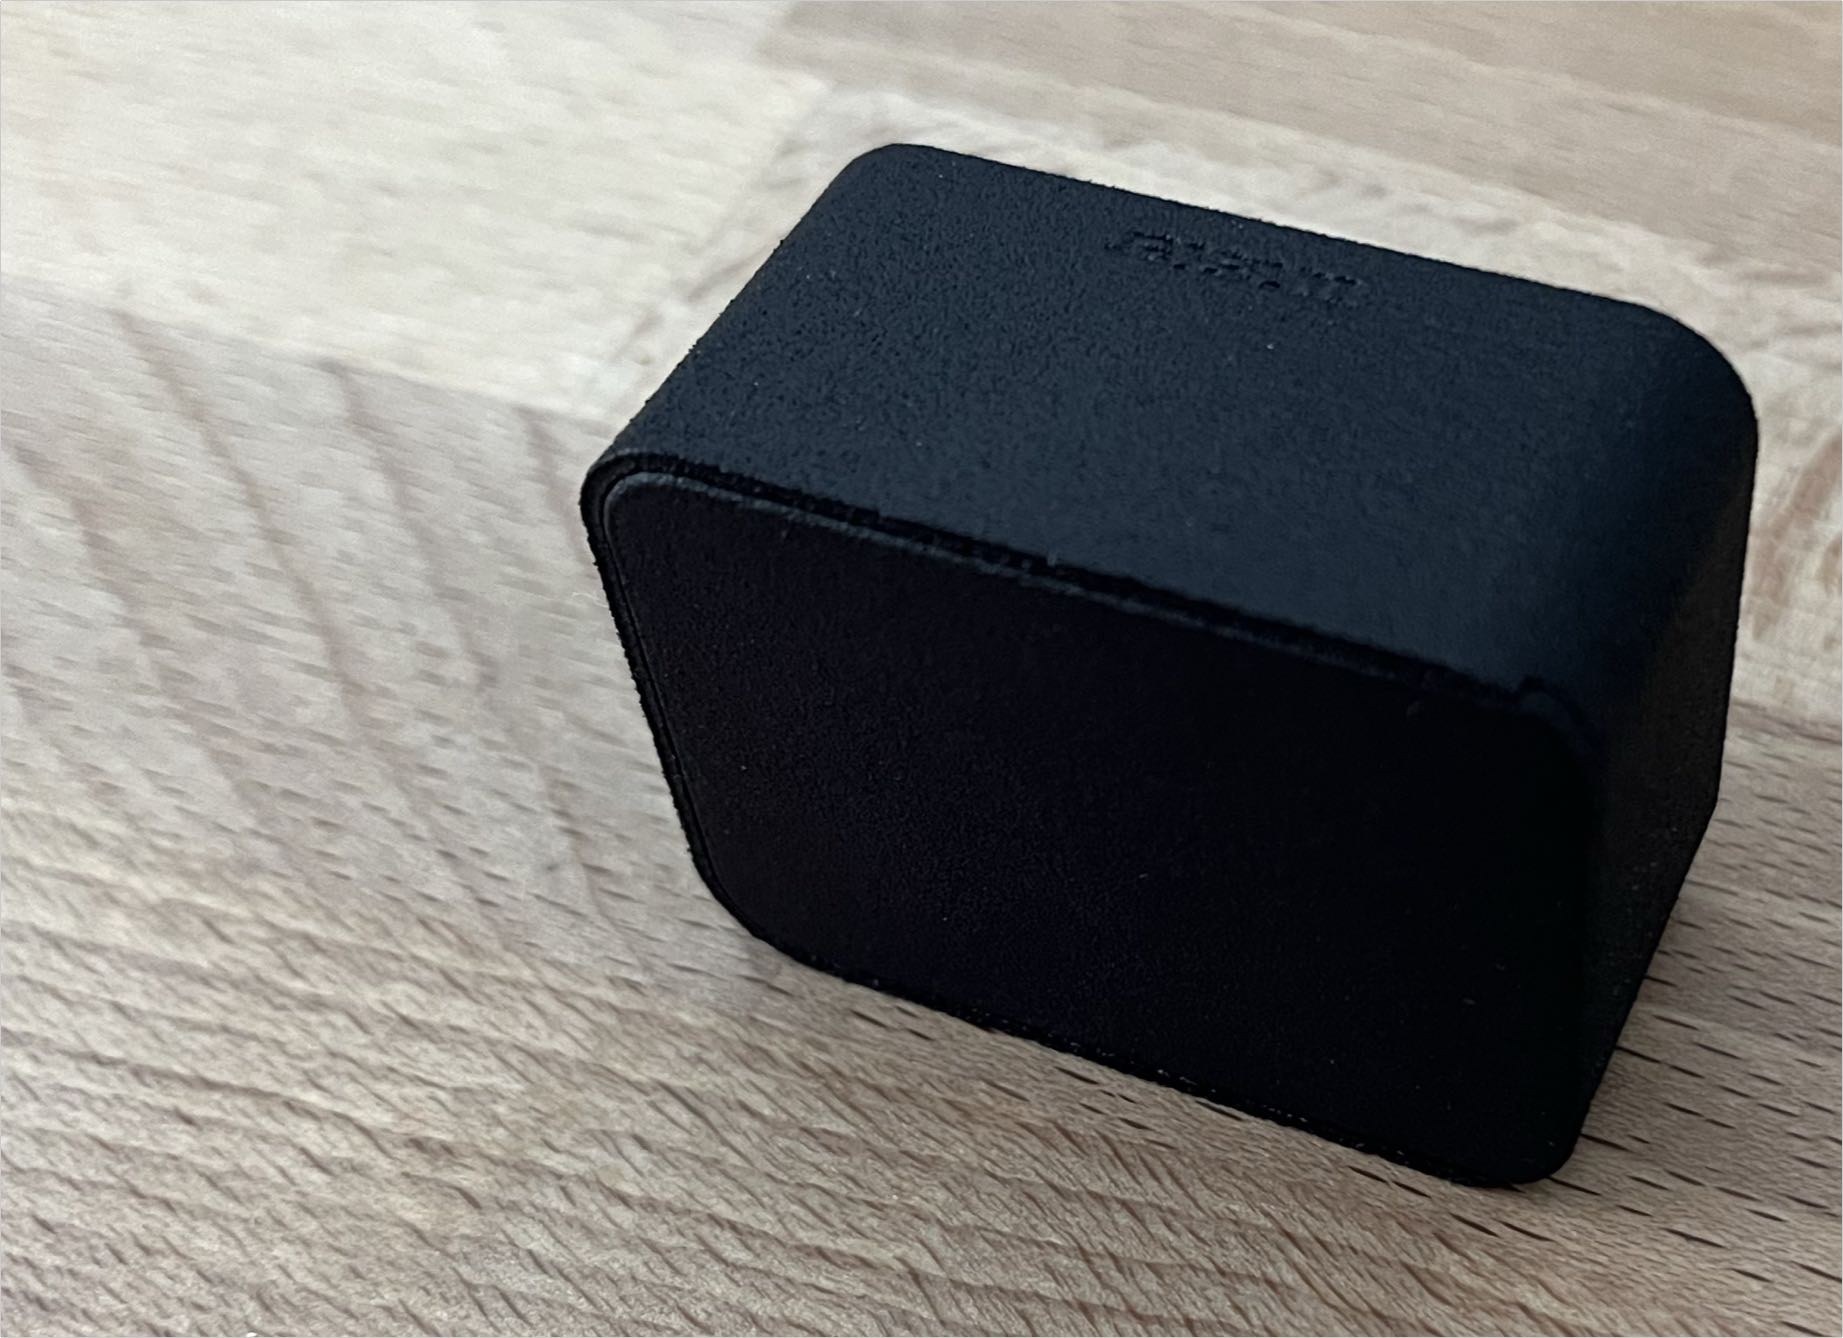
I also slapped a "toaster" logo on the top face to make it clear which side was up.
Revision 3
The third revision was the first aluminum enclosure, which fixed the issues caused by light incursion.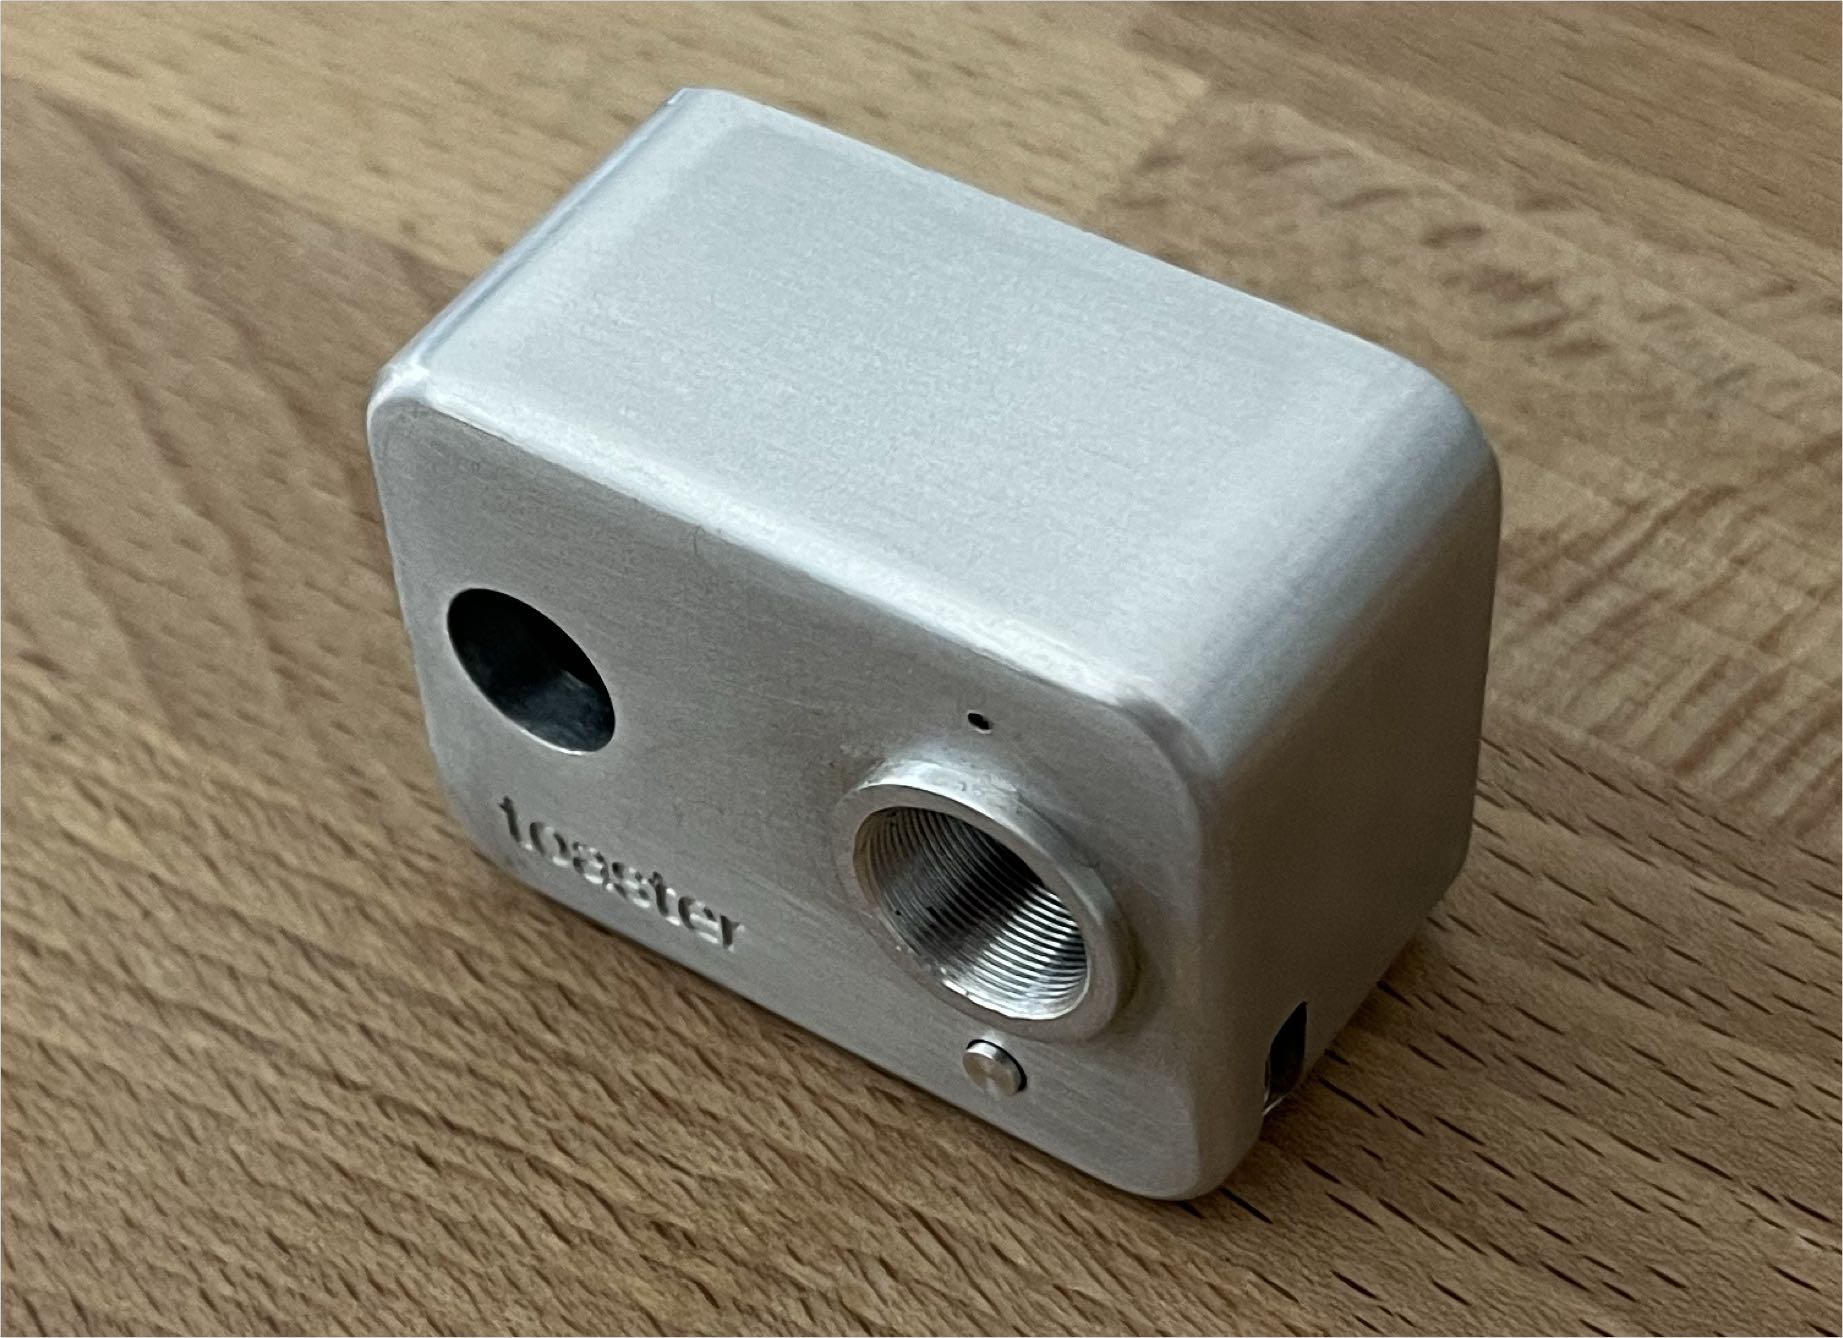
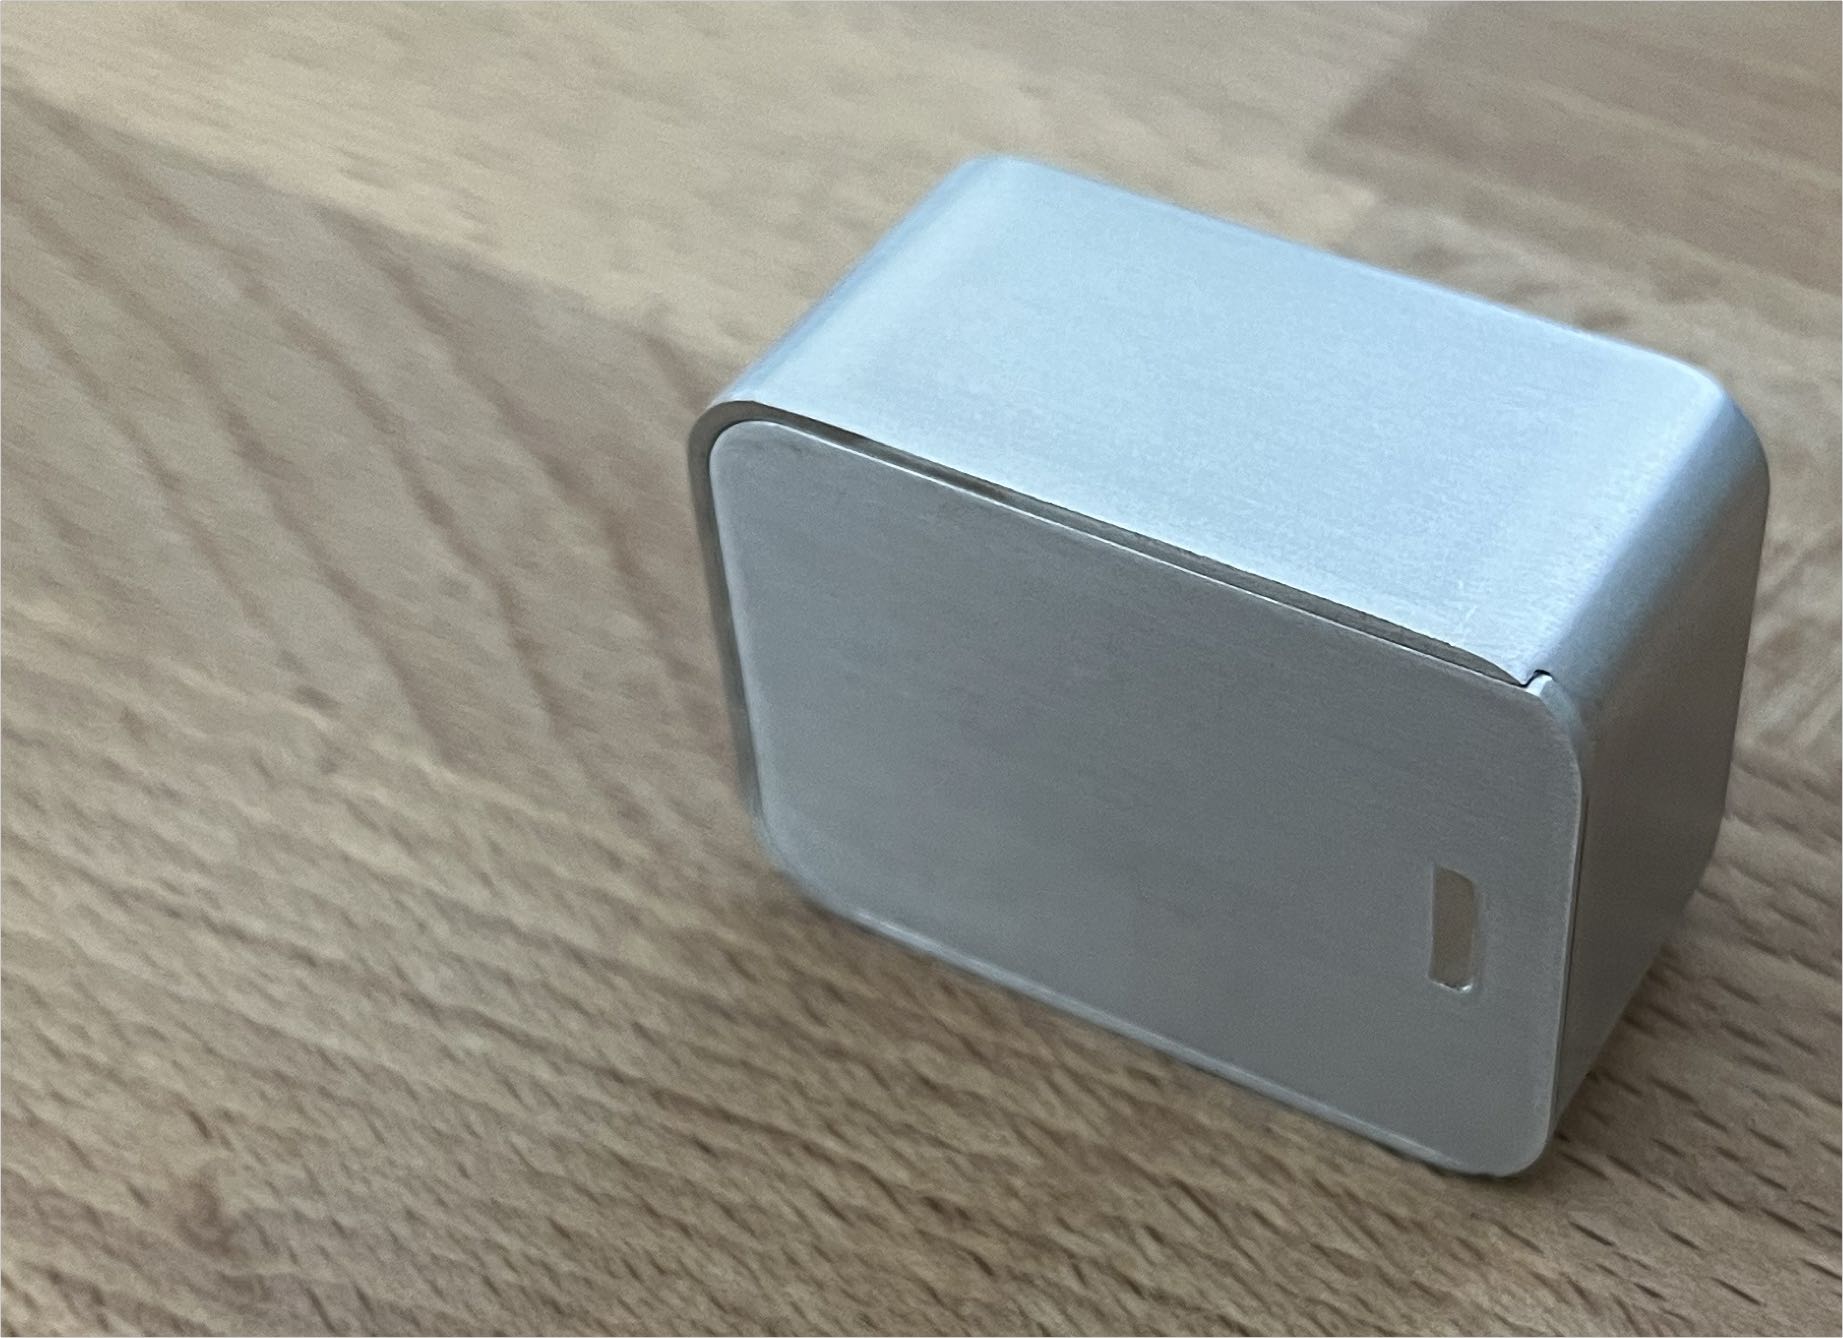
- a working button
- a threaded lens socket built into the enclosure, that the production lens could be screwed into
- an LED hole that actually penetrated the entire front face so the LED actually worked
Revision 4
The fourth revision fixed the size of the motion sensor hole (it was previously too small so the motion sensor wouldn't fit.)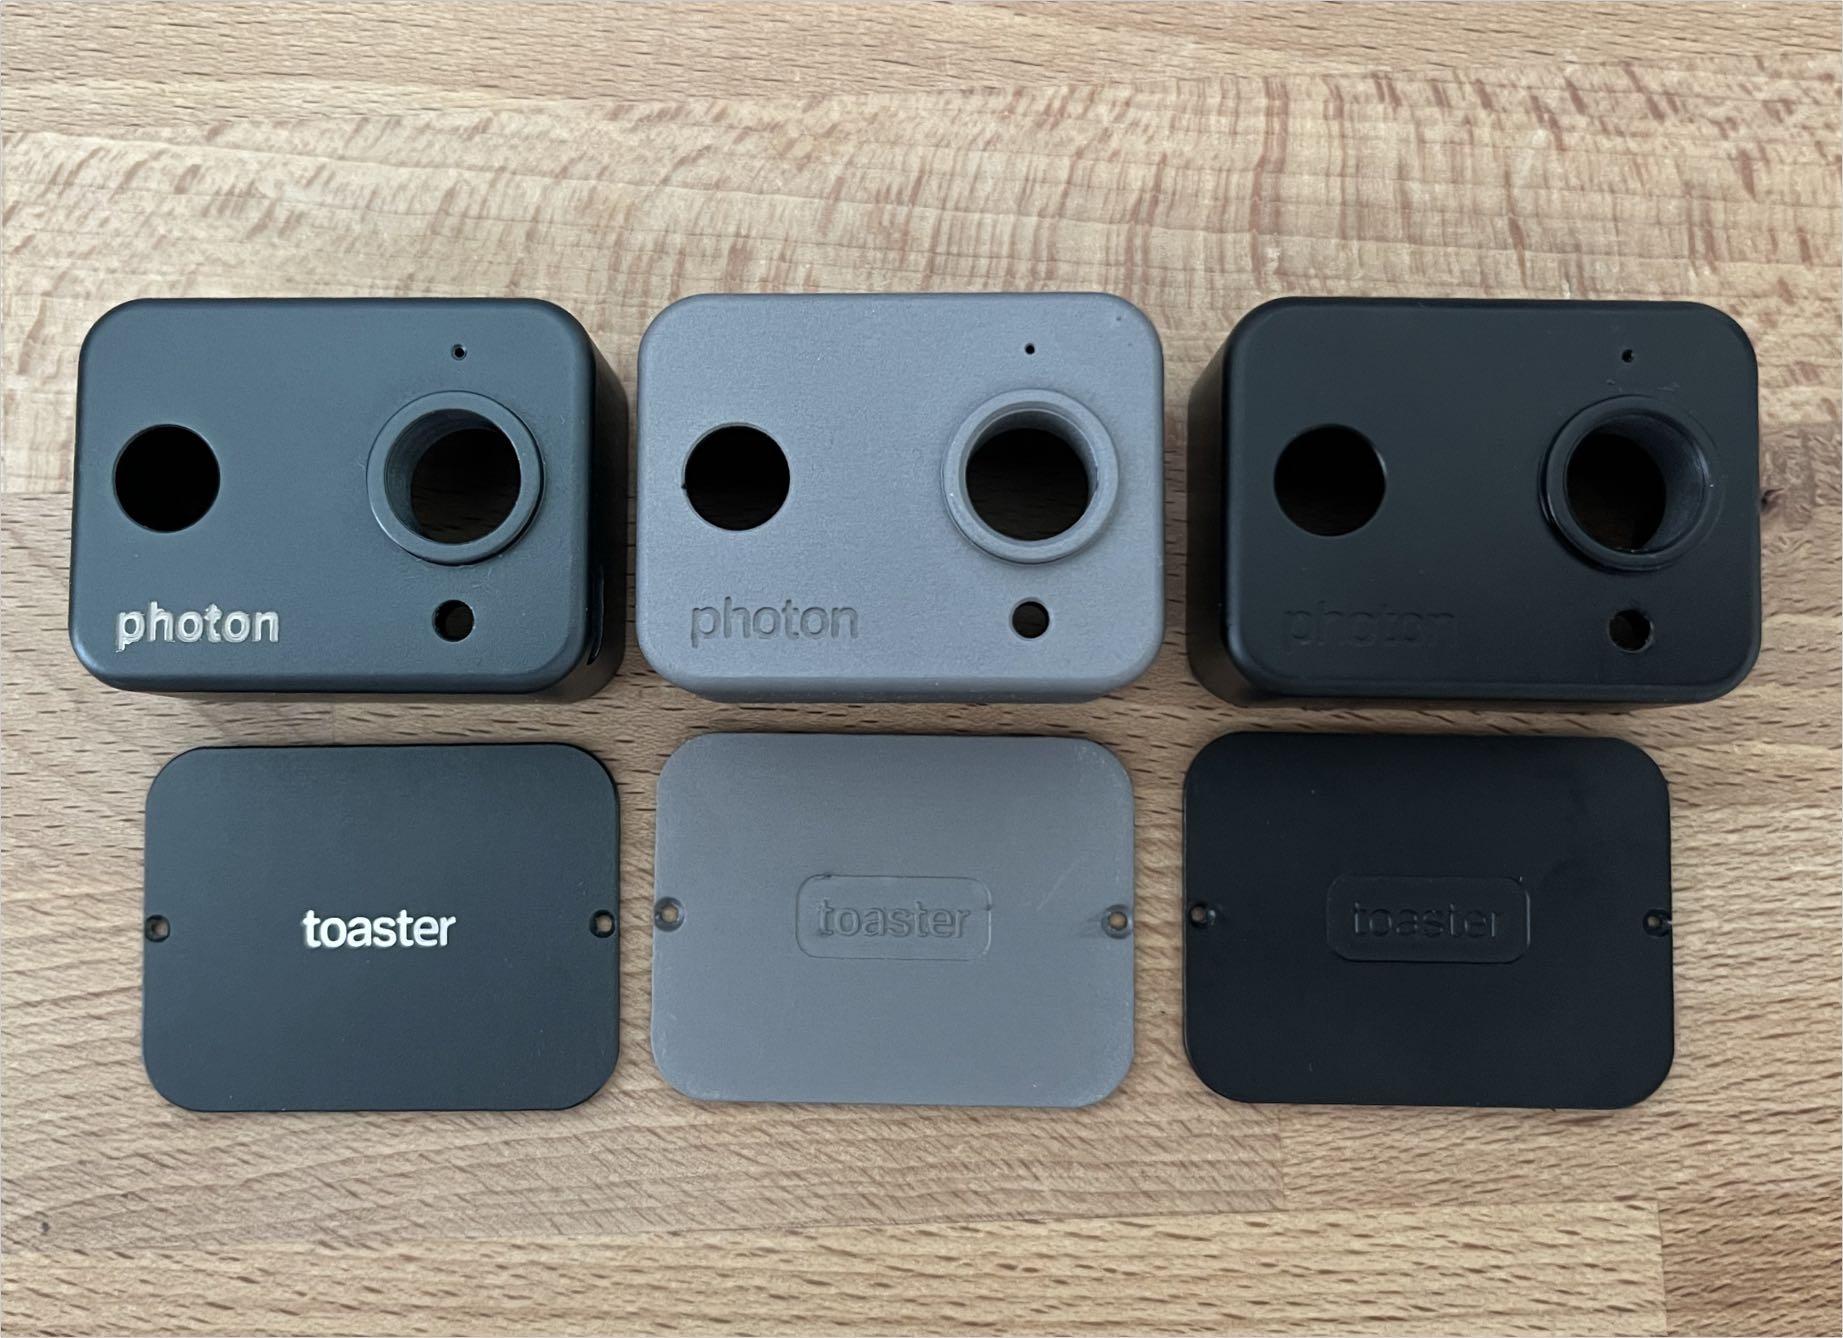
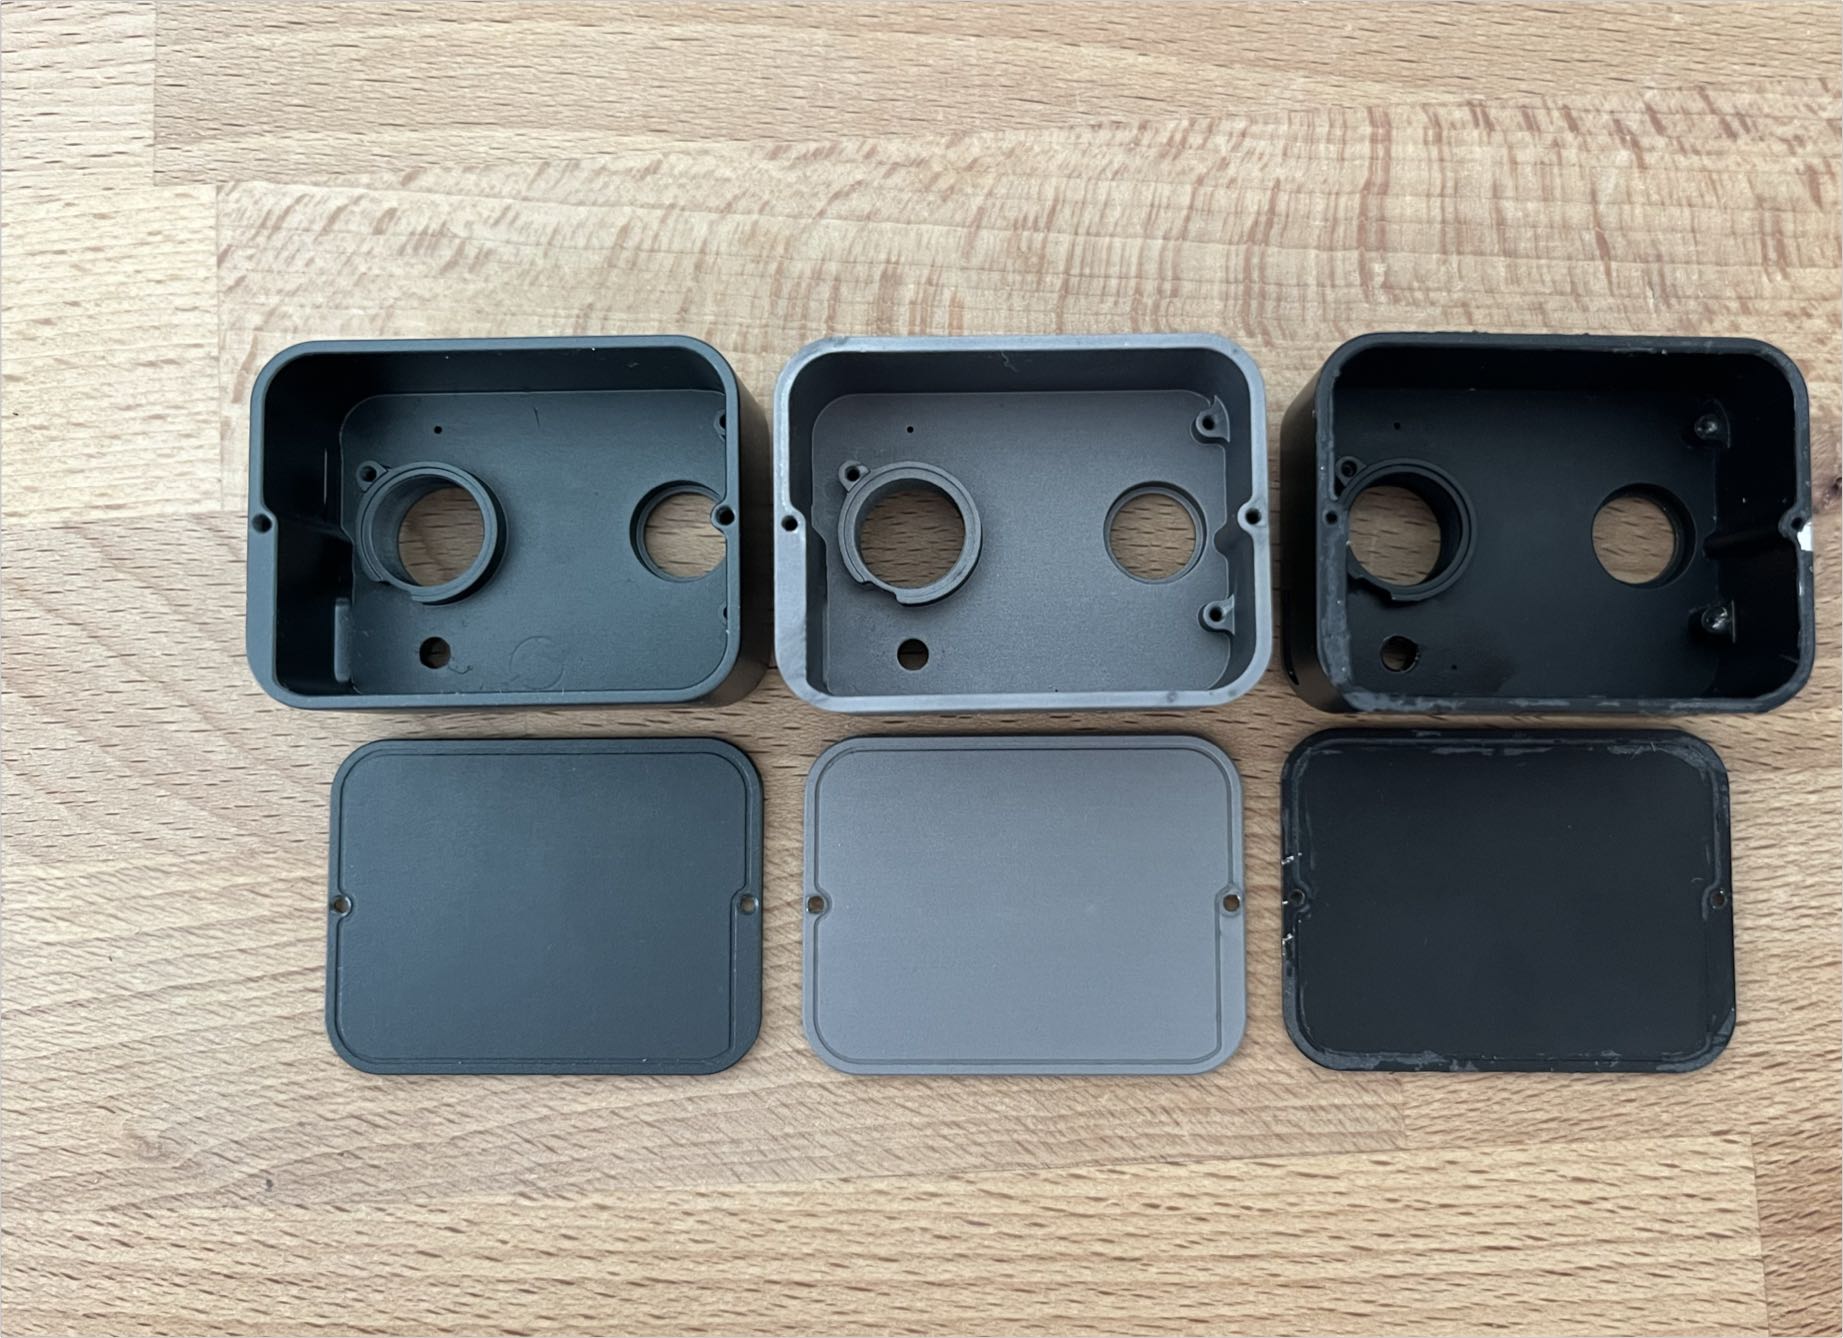
I ordered Revision 4 from three different Chinese fabricators to help decide which fabricator to use for mass production. Deciding which one to go with was harder than I imagined as the final machined parts were superior in different ways. For example, one part had a superb finish (although a slightly different color than what I wanted), but the engraving was poor. Meanwhile the CNC quality of another part was superior, but the color was off.
In the end I went with the fabricator that had the best CNC quality, which I felt mattered more than the finish. (The parts need to fit together, after all!) In the end, the mass-produced parts turned out well in both CNC quality and finish.
Revision 5
The fifth and final revision had only some small tweaks from Revision 4.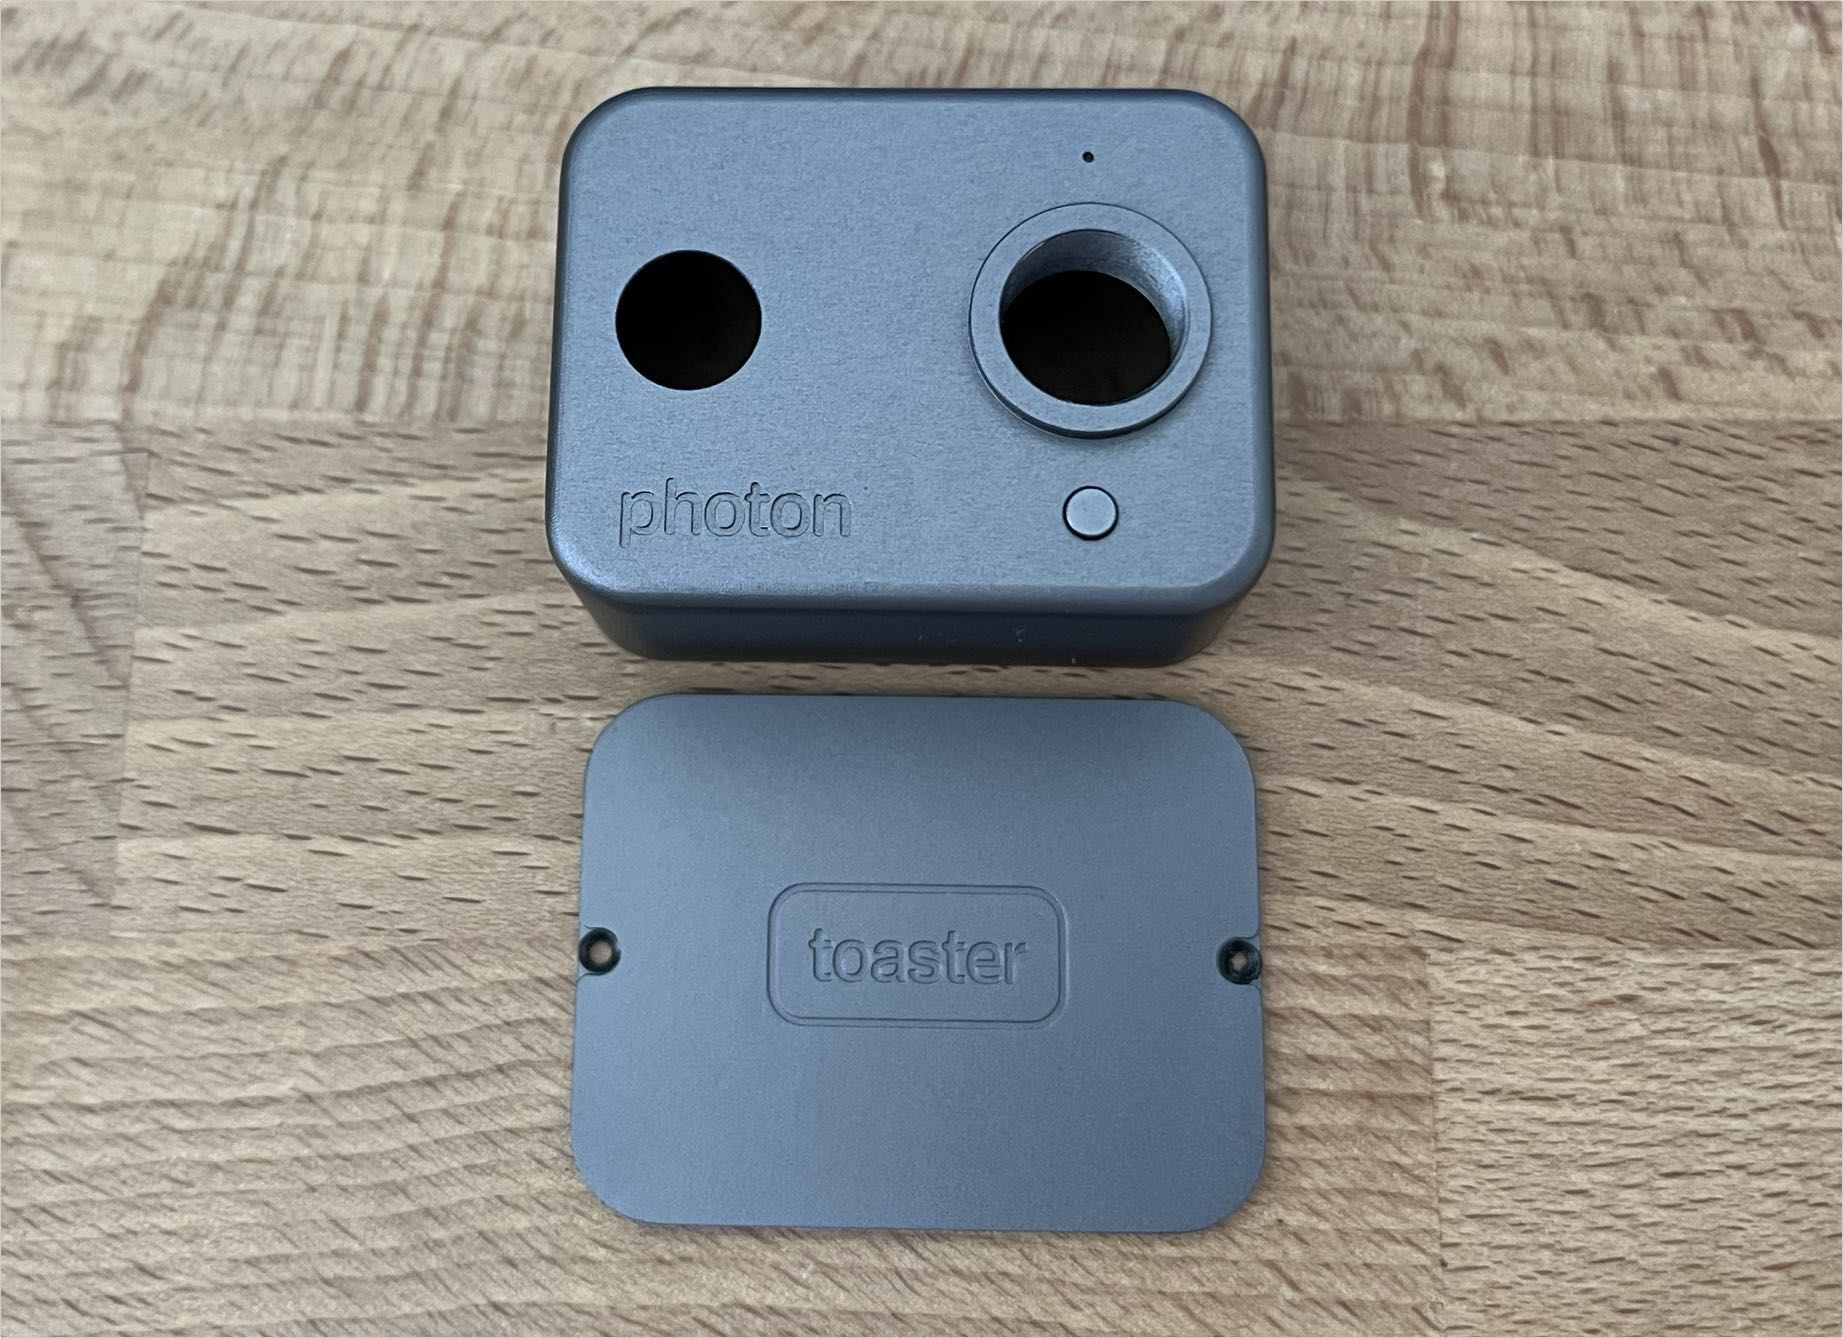
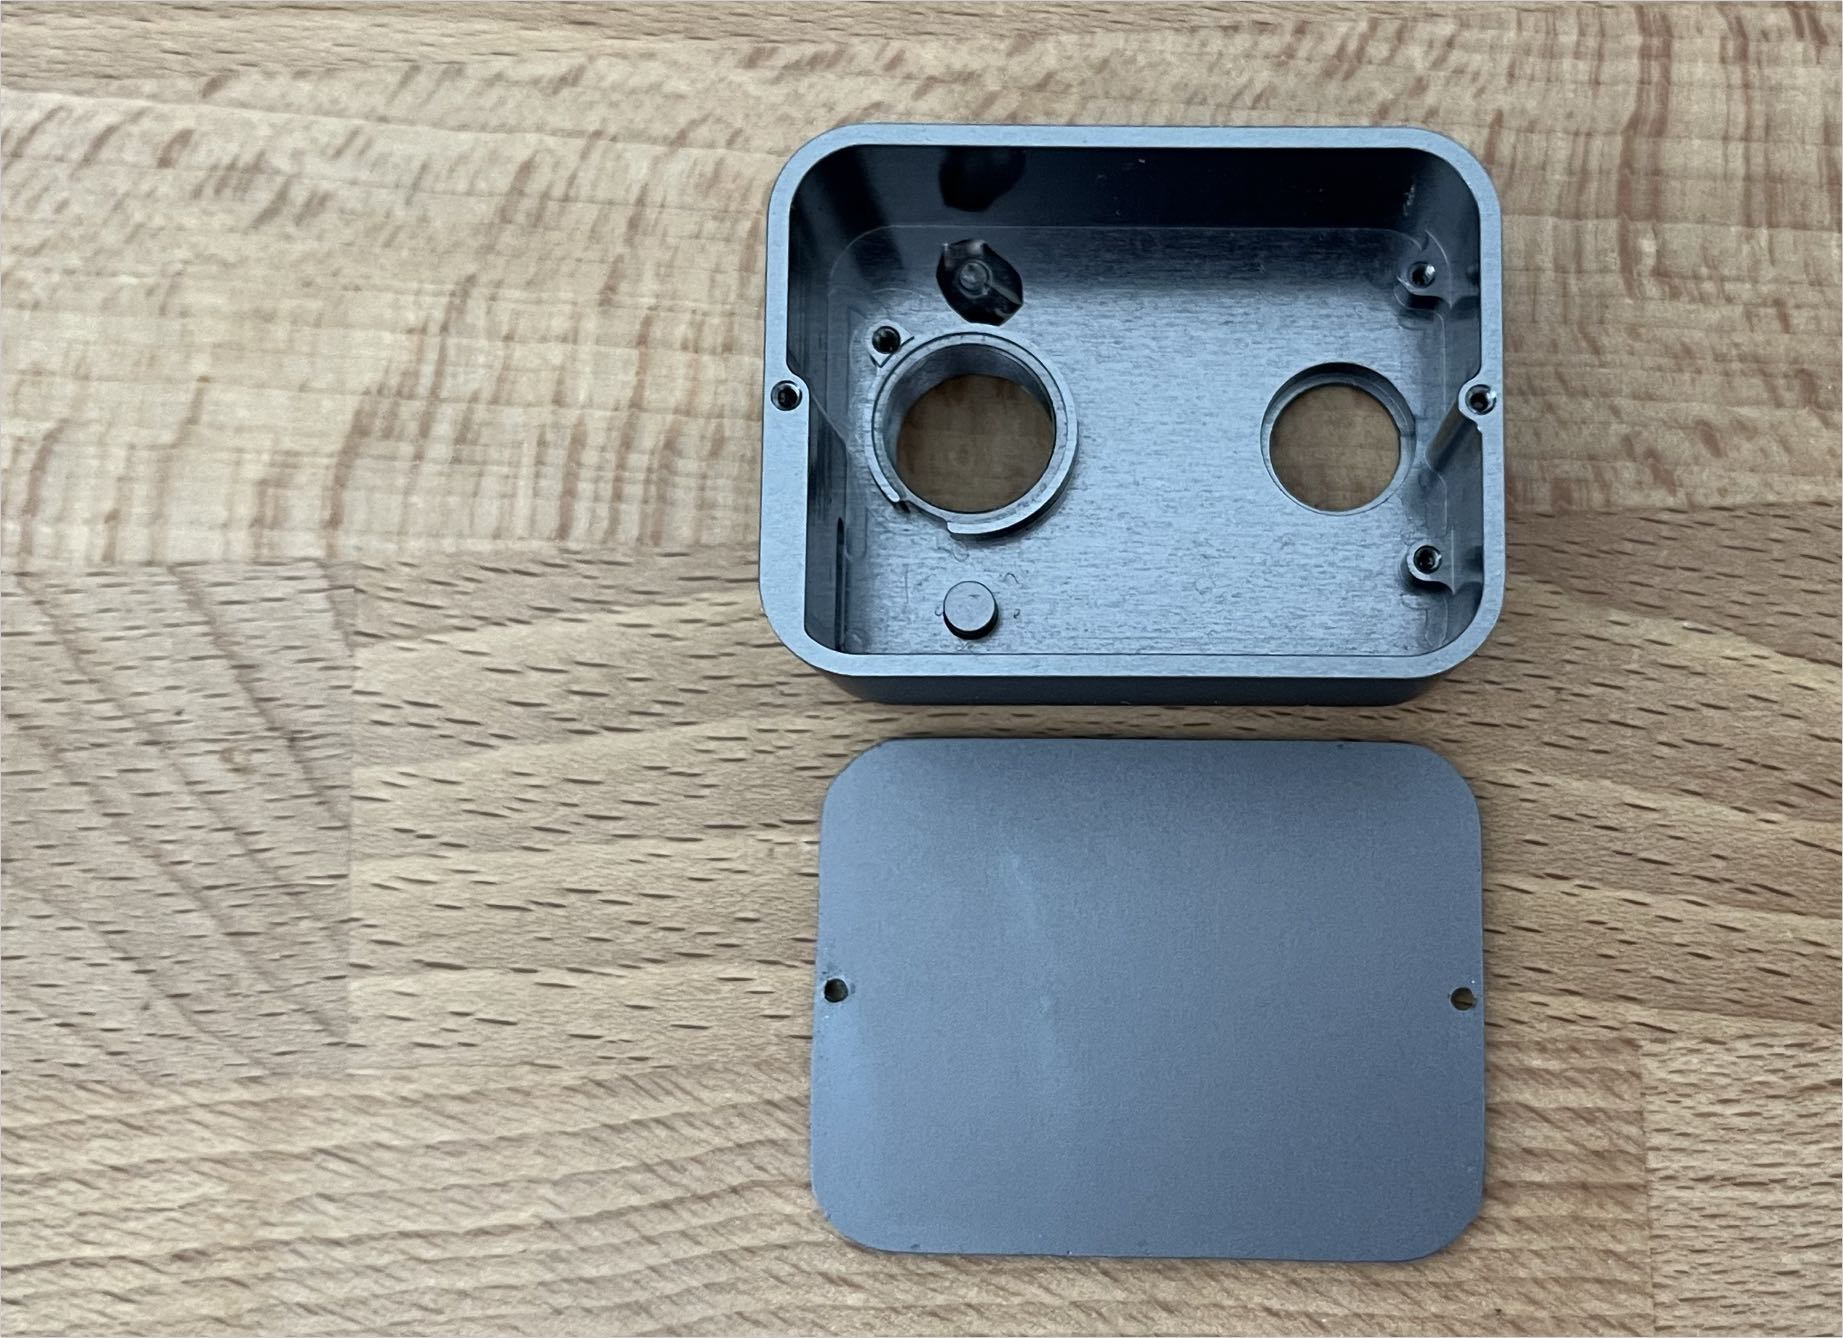
An outline was added to the "toaster" logo on the backplate.
And finally the finish was tweaked. To communicate the desired finish I mailed an existing product with the desired finish to the fabricator. They didn't reproduce it exactly, but the finish still turned out pretty well.