This post describes the strategies used to seal each of Photon's seven openings.
LED Hole
Photon's LEDs are mounted to the PCB and output light to the front of the enclosure through a light pipe. Epoxy adhesive is applied to the interior of the enclosure to seal the hole from moisture and keep the light pipe in place: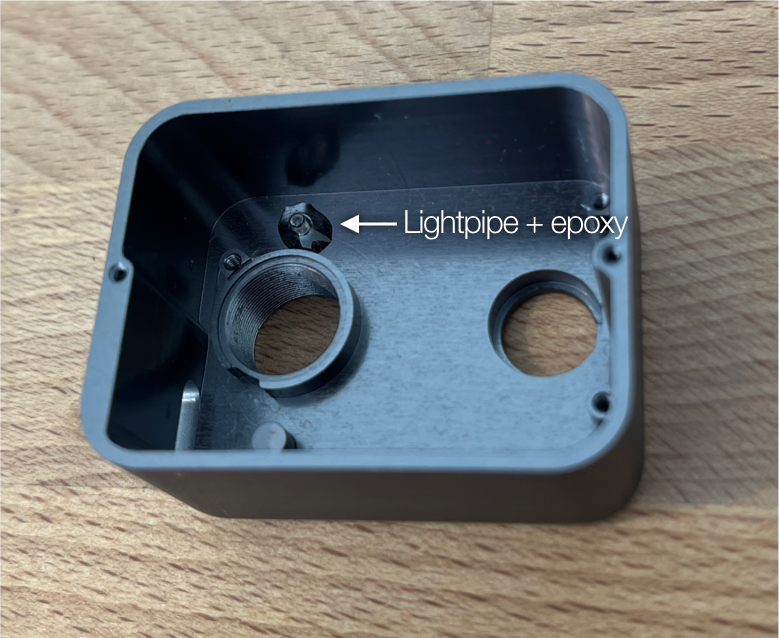
Lens Socket
Photon's lens screws into a M12-threaded socket: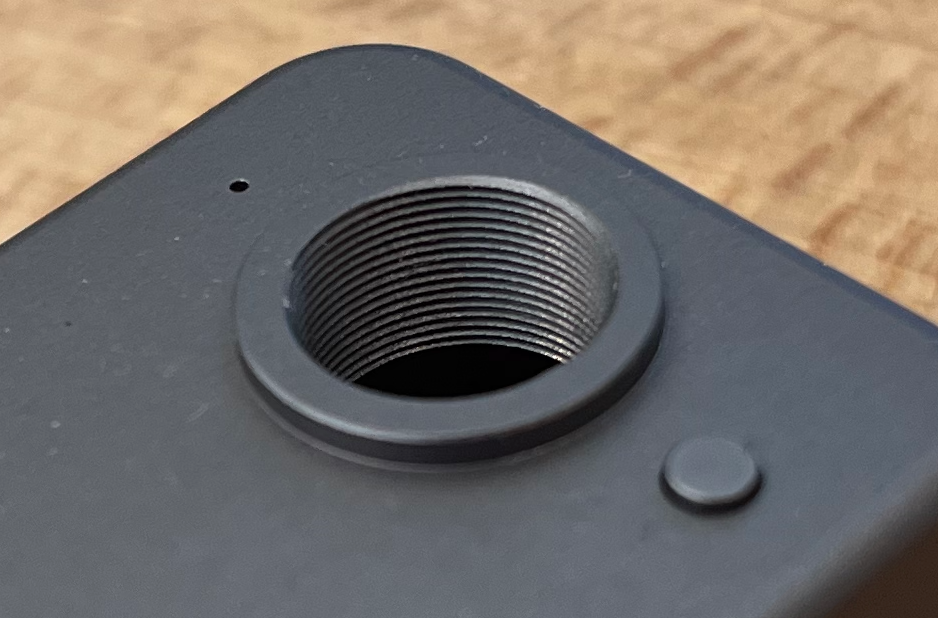
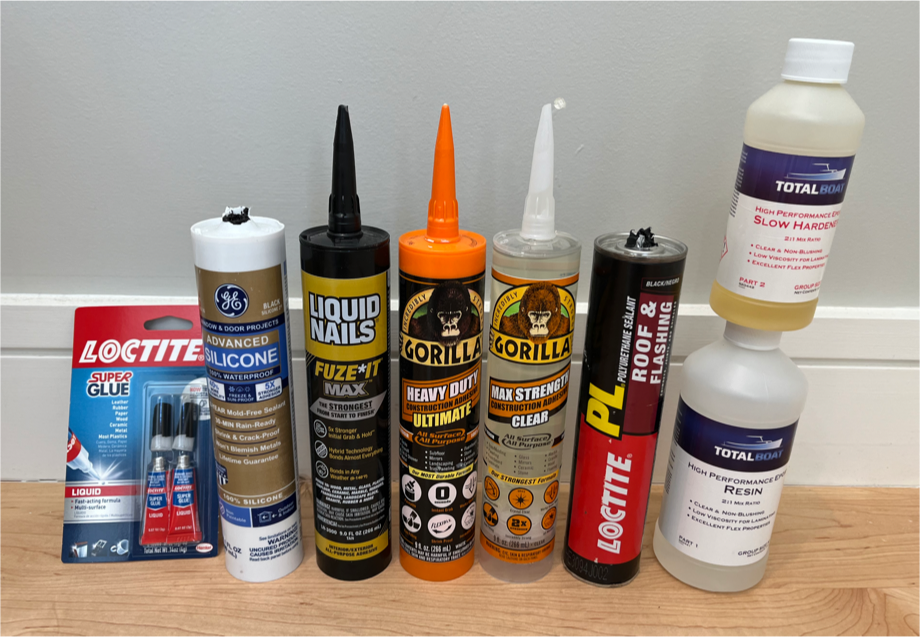
- Cyanoacrylate wasn't viscous enough and tended to seep into the backside of the lens (via capillary action), risking lens damage. Cyanoacrylate also doesn't withstand water very well, so it wasn't a great option anyway.
- Epoxy also wasn't viscous enough and tended to seep into the backside of the lens. I probably could've used a thicker epoxy to solve this, however epoxy also requires mixing and hardens fairly quickly so it's a bit of a pain to use.
- Construction adhesive worked quite well. It's water-proof, viscous, doesn't require mixing, and cures slowly so there's plenty of time to focus the lens.
Lens Seam
The hardest aspect of rain-proofing Photon was due to the construction of the lens itself, as water can ingress into the seam between the front glass and its surrounding plastic:Without sealing, moisture can enter the seam and significantly degrade the image quality.
This image actually depicts a seam that's been sealed with injected epoxy, described below. The shininess of the seam is the dried epoxy; without the epoxy the seam appears dull.
I tried several different techniques to seal this glass-plastic seam, described below.
Apply Adhesive Directly
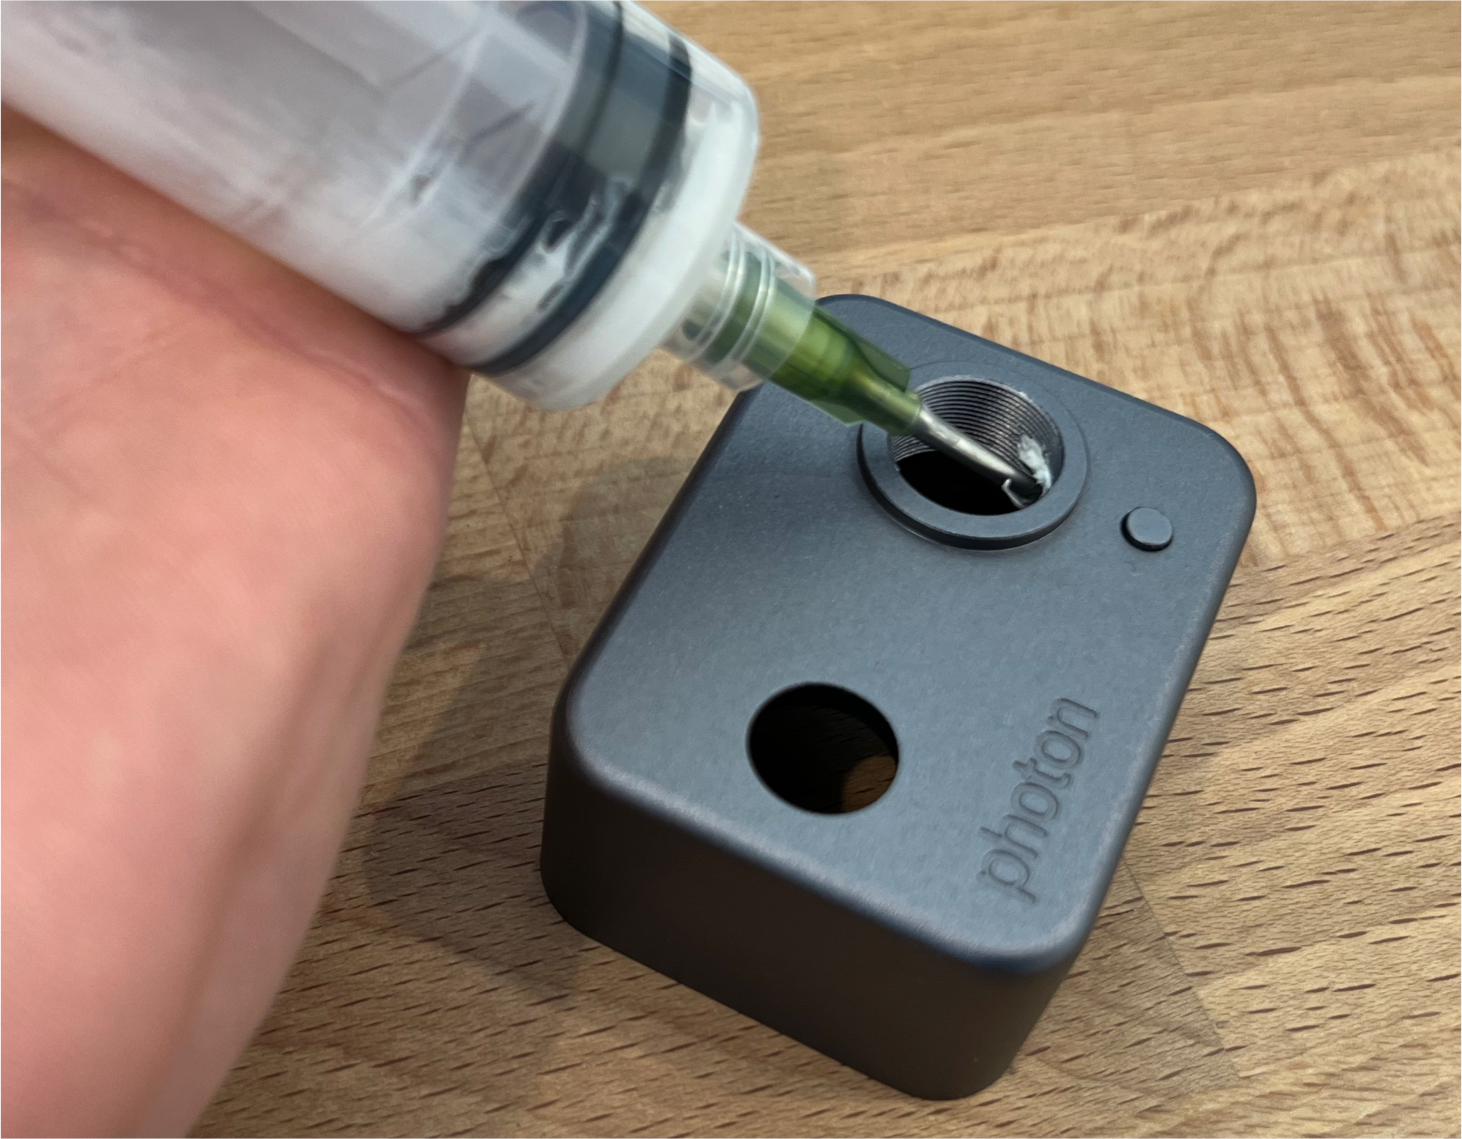
The simplest option was to apply adhesive directly to the seam of the lens: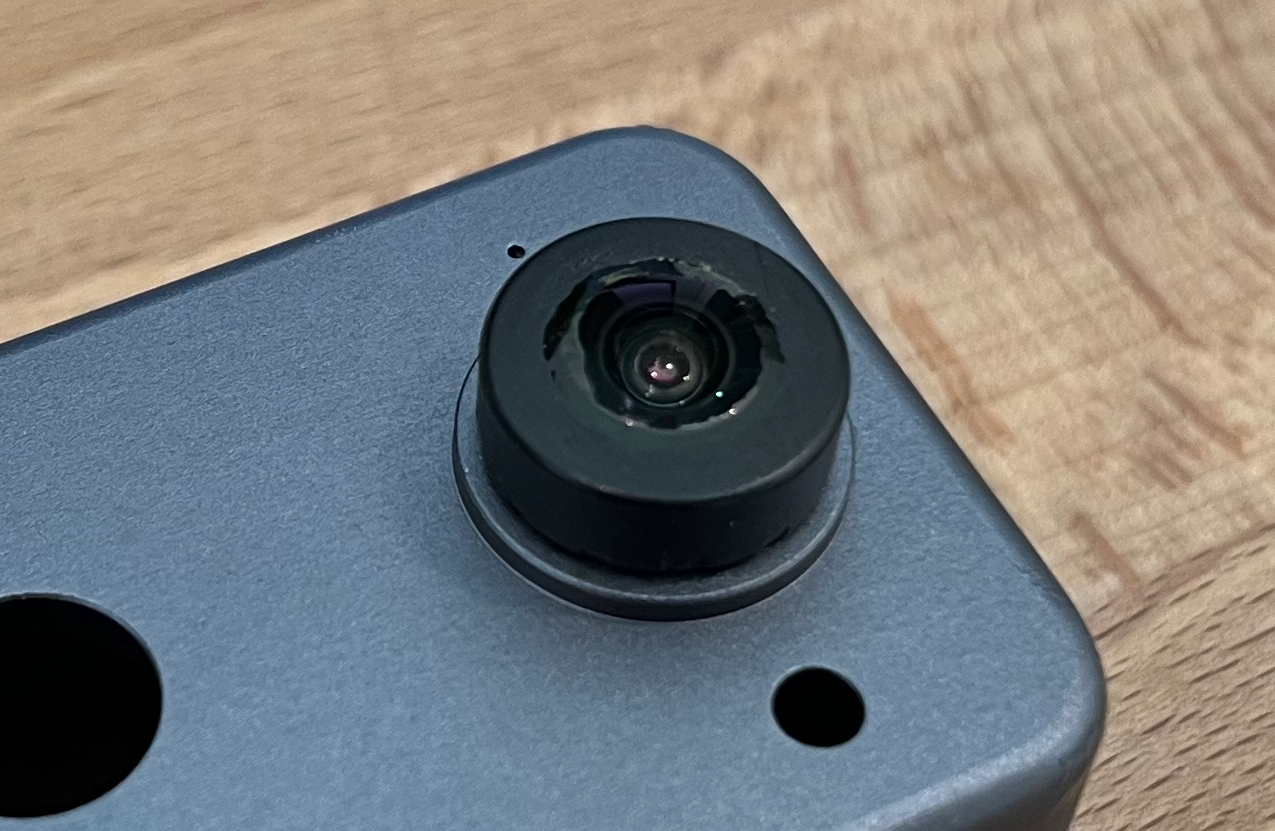
Powdered Adhesive
Another option was to seal the seam using a powdered adhesive that congeals with heat. The powdered adhesive would be scattered atop the face of the lens, and then vibration would be applied to allow the powder to settle into the seam. Finally the lens would be heated to cause the powder to liquify and fill the voids within the seam, and then harden once heat was removed.To implement this process, I made a custom apparatus out of aluminum to accommodate 25 lenses, along with a laser-cut powder mask from 300µm cardstock:
Since DTF powder failed, I looked at other powdered adhesives that would liquify when heated. There are many ethylene-vinyl acetate (EVA) powders (essentially hot glue that's been pulverized [cryogenically?] into a powder) available from China. I ordered some samples but never got around to testing them, as the epoxy-injection approach (described below) looked more promising.
Epoxy Injection
The final option was to inject epoxy into the seam of the lens using a custom-made hydraulic system:Button Hole
Photon has a single button, which is sealed using a 3.5mm nitrile o-ring in a "piston seal" configuration. Two grooves are cut into the button to allow for two o-rings, but only one o-ring is actually used. (I found that a single o-ring seals fine, and two o-rings causes too much button friction.)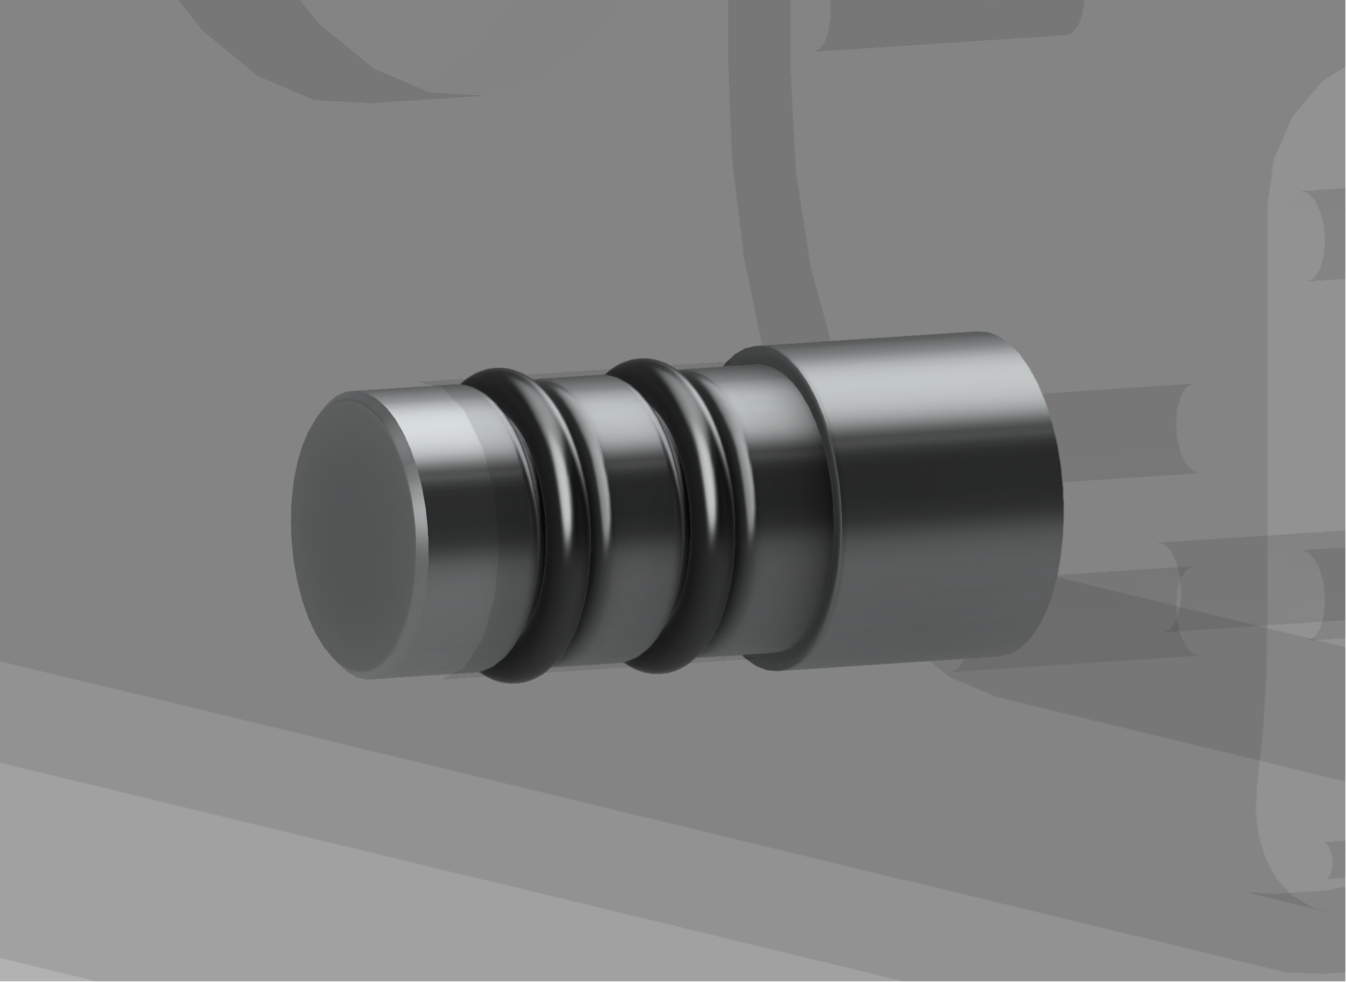
Two o-rings are depicted, but only one o-ring is actually used
Motion Sensor Hole
The motion sensor hole is sealed using an 11mm silicone o-ring that sits atop a ridge of the motion sensor plastic: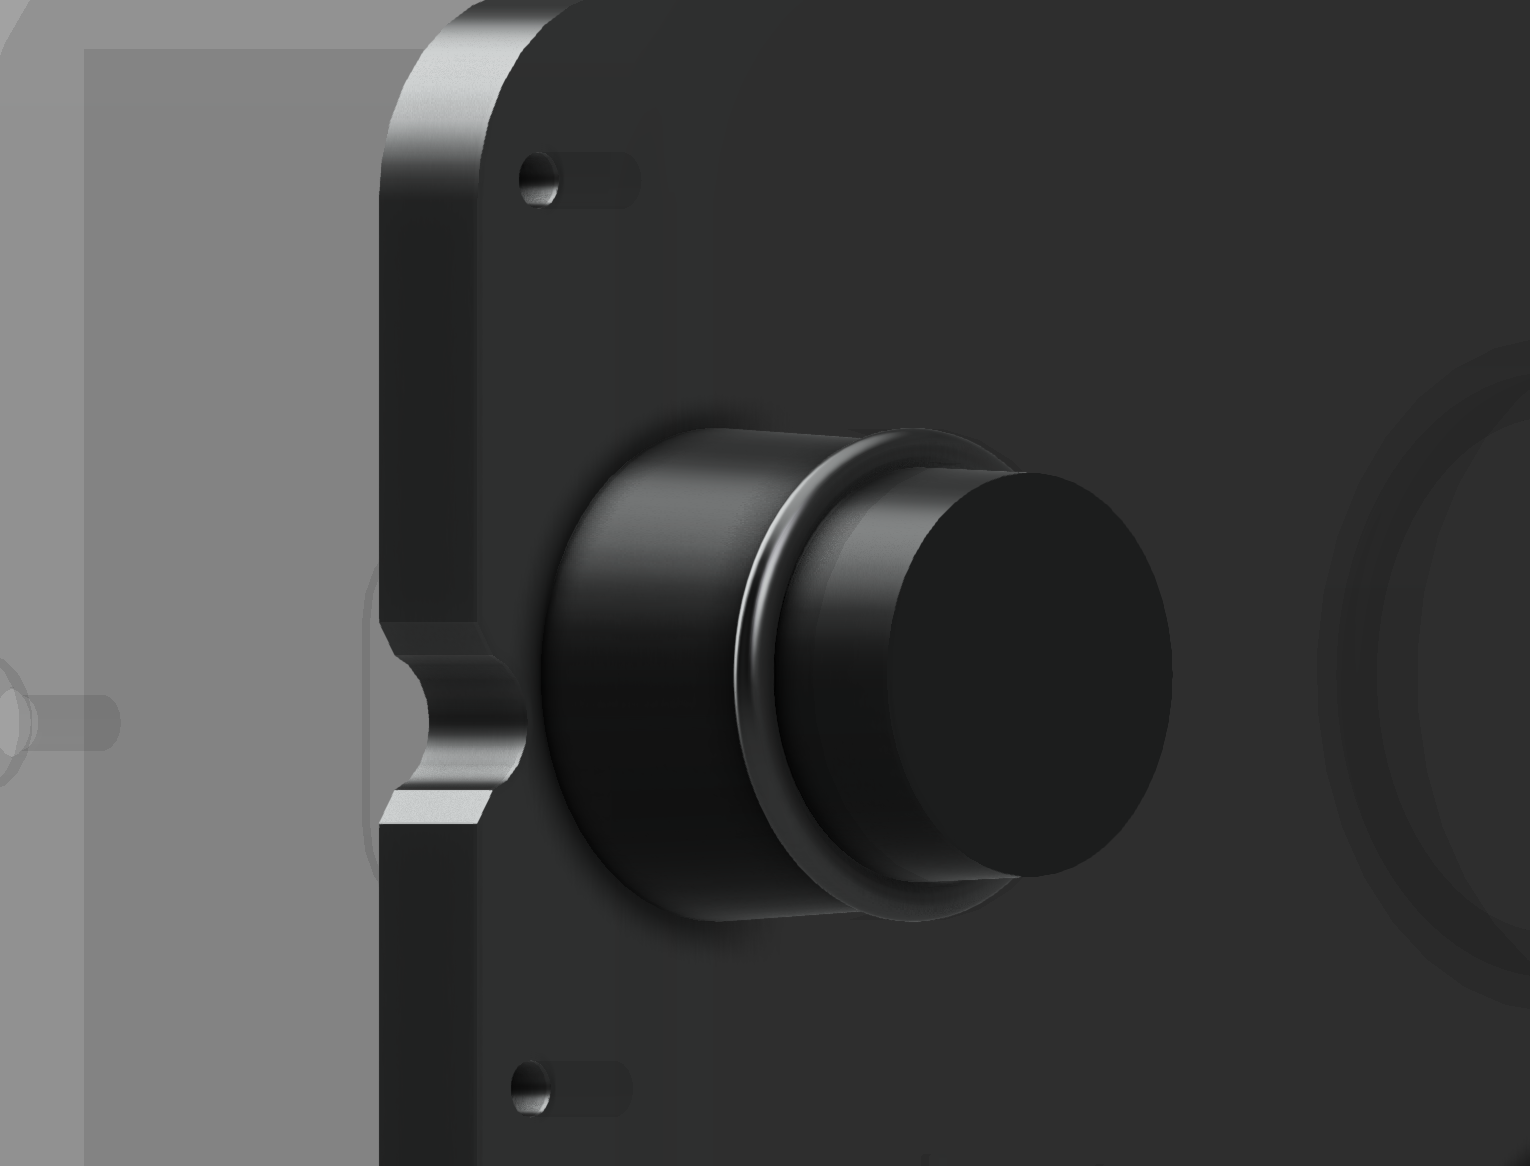
USB-C Receptacle Hole
The USB-C receptacle hole is sealed by yet another o-ring attached to the USB-C receptacle: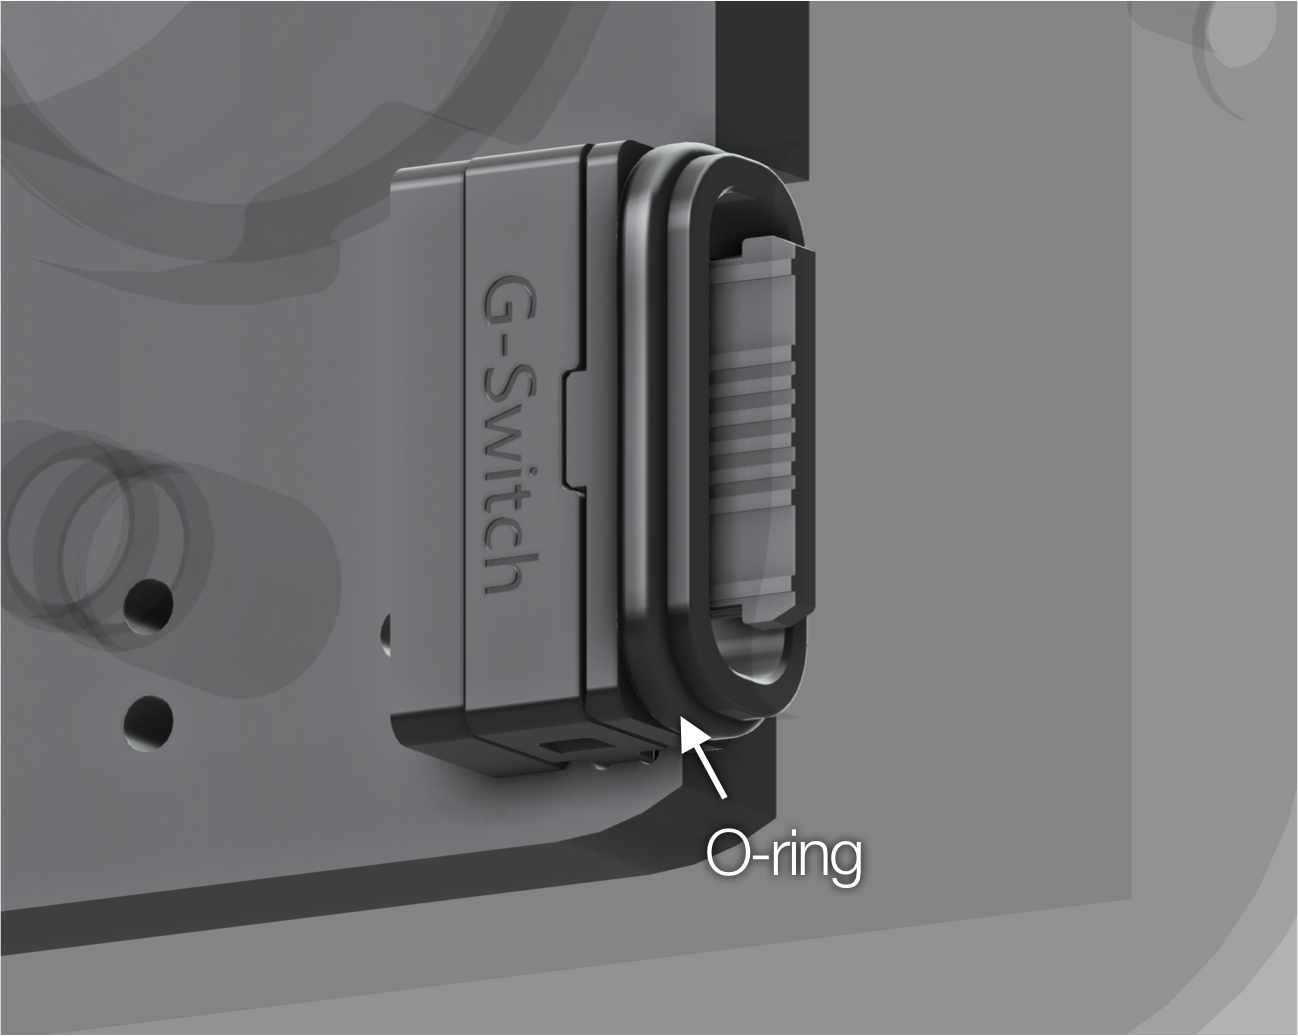
Backplate Seam
Photon's backplate is sealed with RTV sealant that's typically used for gasketing automotive parts: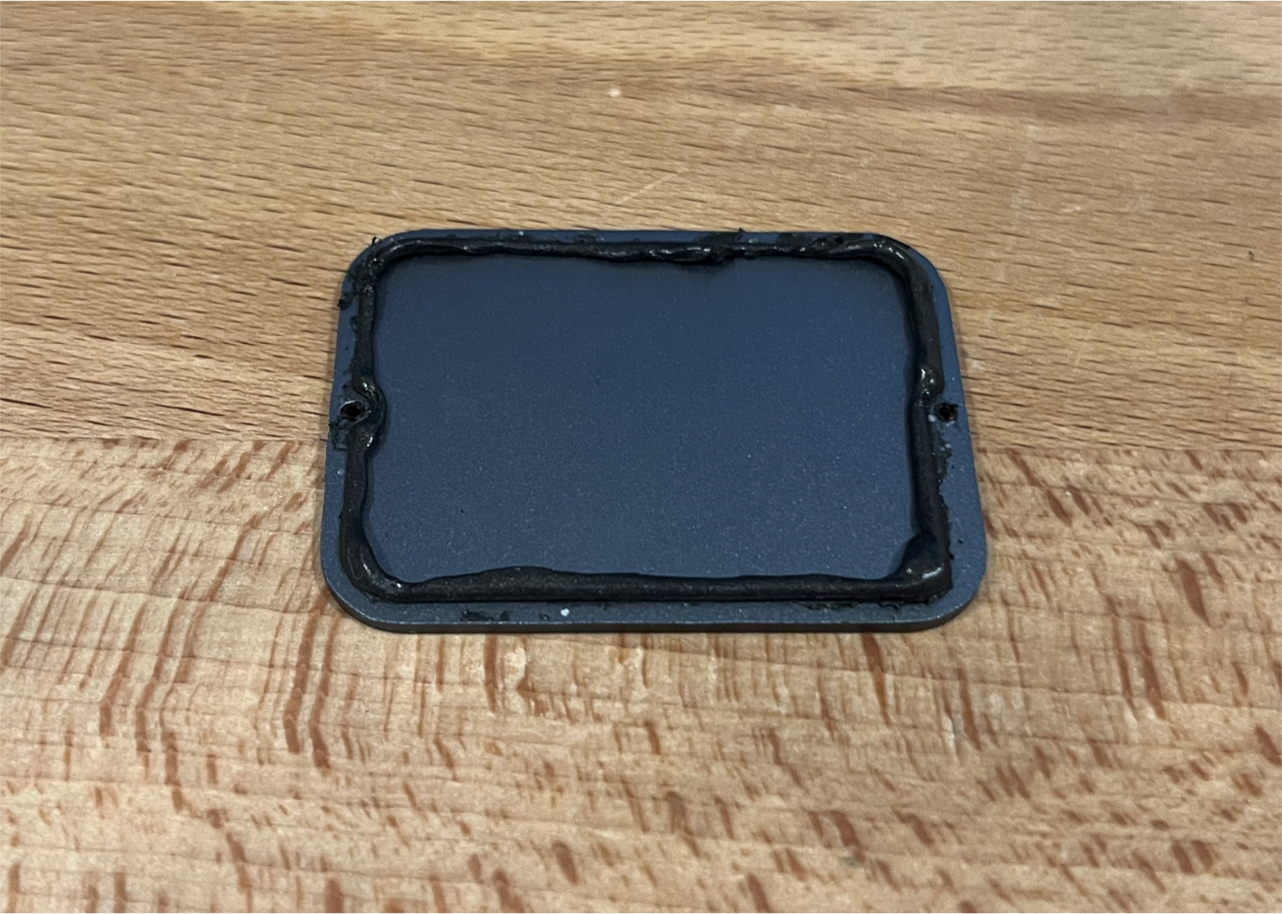
Backplate Removal
The RTV sealant makes the backplate fairly hard to remove, so I made a tool out of two acrylic plates glued to a piece of wood to allow the backplate to be removed without damaging the aluminum enclosure:Testing
To test Photon's seals, I submerged prototype devices in UV dye for extended periods of time: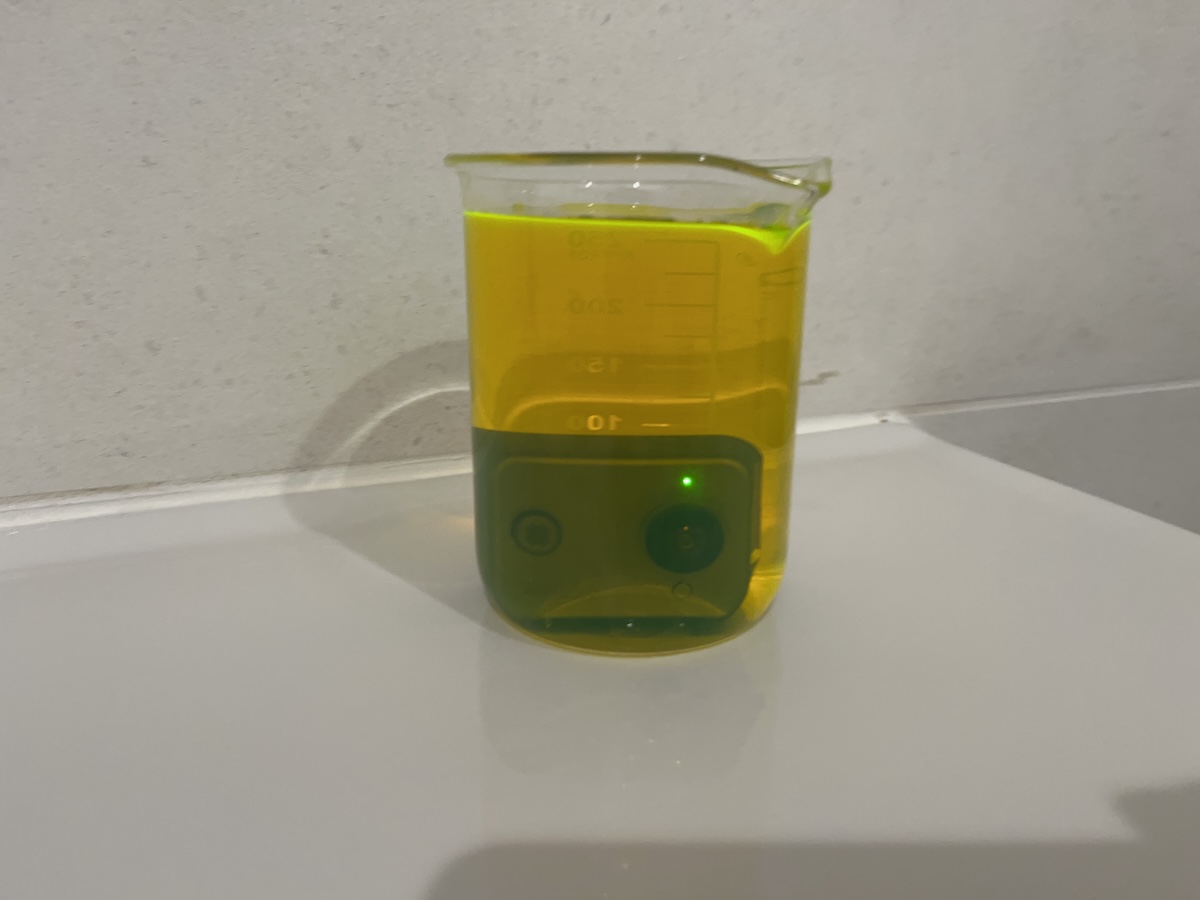
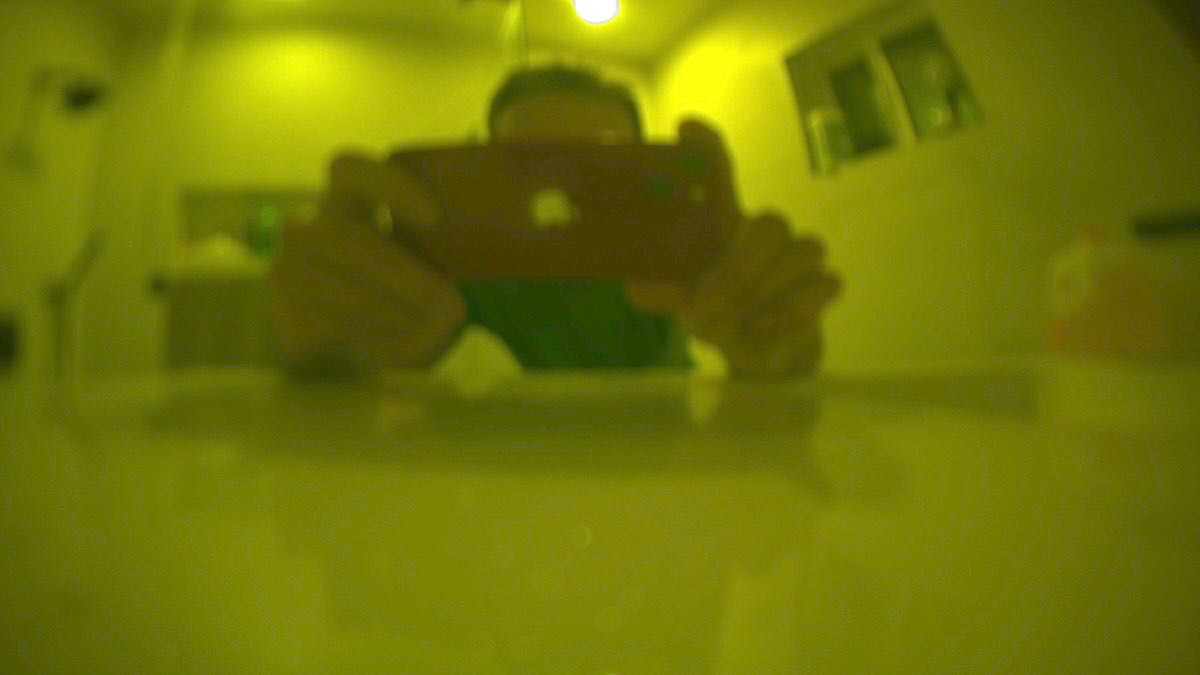
Left: Photon submerged in UV dye
Right: Photon's perspective while submerged in UV dye
After working out the kinks, Photon successfully endures being submerged in a cup of water for 7 days without any water incursion. In more strenuous testing, the USB-C receptacle was found to be the most prone to leaking, and therefore Photon likely can't withstand being submerged to significant depths. For that reason, and since I haven't performed rigorous testing for any particular ingress protection (IP) specification, I think it's fair to call Photon "rain-proof".